
Table of Contents
The Ultimate Guide
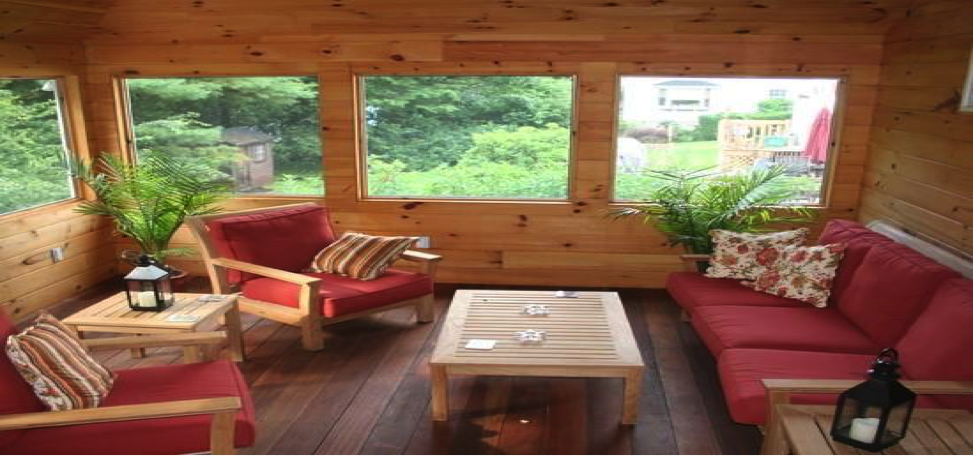
Do you want to install tongue and groove walls in your home but don’t know how? You’re in luck! This guide will walk you through the entire process, from start to finish. We’ll talk about what materials you’ll need, how to prepare the wall for installation, and how to put the boards up. By following these simple steps, you’ll be able to transform any room in your home with beautiful tongue and groove walls!
Materials Required for Installation
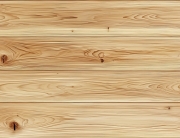
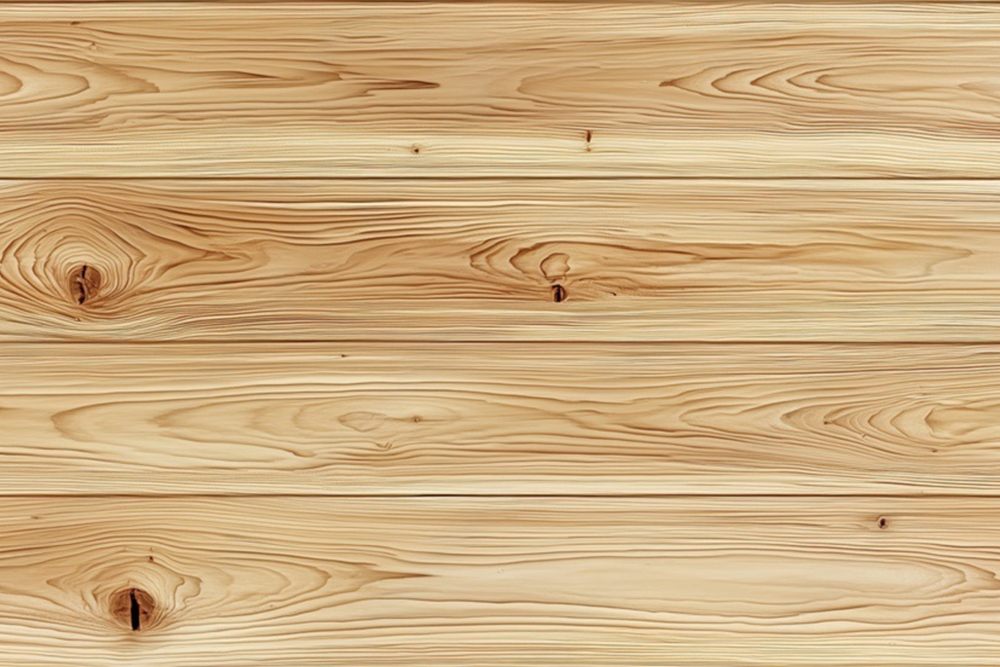
- Tongue and groove boards
- Circular saw
- Ruler or tape measure
- Pencil
- Plywood or drywall screws
- Stud finder
- Level
- Chisel
Preparing the Wall
Before installing your tongue and groove boards, you’ll need to prepare the wall. Below are a few steps on how to get that done:
- Remove any baseboards or trim that may be on the surface, as well as any nails holding them down.
- Measure how wide your board will need to be so there’s enough space for it at each end of the room, and mark off where they go with a pencil.
- Find out how many studs are behind that wall, so they’re not in the way when it’s time to install our boards. Use your leveler and ruler as well! If there aren’t any studs where we want them to go ahead and just put up a piece of plywood over those areas.
Installing the Tongue and Groove Boards
It is important to note that the nail size for tongue and groove walls should be a minimum of 120″ diameter and a length of at least ⅝.” Below are the steps you should follow for successful installation:
Step One
Start by drawing lines on your wall where you want to install the boards. These should be about four inches apart from each other, but it’s okay if they’re not exactly in between because we’ll cut them later when installing our first piece with a circular saw or jigsaw, so it fits perfectly. The more studs there are in your wall, the easier this process will be.
Step Two
 Cut the first piece of board to size using a circular saw or jigsaw. If you’re using a circular saw, make sure to use a straight edge guide and clamp it down so that your cuts are as accurate as possible.
Step Three
Once the first piece is cut, you’ll want to install it by tapping in the nails that come with your tongue and groove boards. Make sure they’re evenly spaced apart and that they sink into the wood a bit, so they don’t show once the wall is finished.
Step Four
Using a leveler, make sure your first piece is straight before nailing it into place on both sides. If you’re installing more than one row of boards, then repeat these steps until all rows are complete!
Finishing Touches
The final step to how we can install tongue and groove walls is adding trim around them so there’s no gap between what’s behind our new walling system and drywall or whatever else may be nearby.
It’s important that you don’t just leave this step out because it will make sure everything is securely attached, and there won’t be any problems with how we can install tongue and groove walls in your home!
How to Choose the Right Finish for Tongue and Groove Walls
There are a few different types of finishes you can choose for your tongue and groove walls. These include:
- Paint
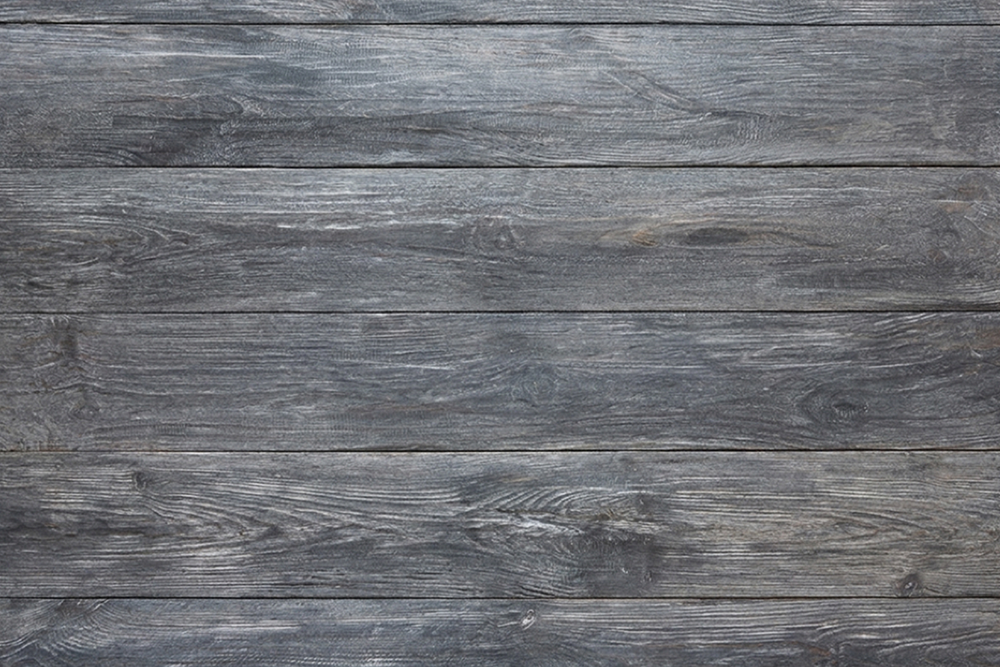
This is the most common finish and comes in a variety of colors. It’s easy to apply but may require more coats than other finishes. - Stain
This will give your boards a darker look and will typically last longer than paint. The downside is that it’s more difficult to apply!  Varnish
This type of finish has been around for centuries and can add some shine or luster depending on how often you apply it. It works well with any color scheme but tends not to last as long unless treated regularly (at least once every two years).- Urethane
This type of finish is relatively new but has become more popular in recent years because it’s easy to apply and lasts longer than other finishes. However, urethanes are not as durable over time, so if your tongue groove walls take a lot of abuse, then you might want to consider something else!
 Varnish
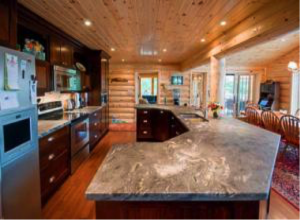
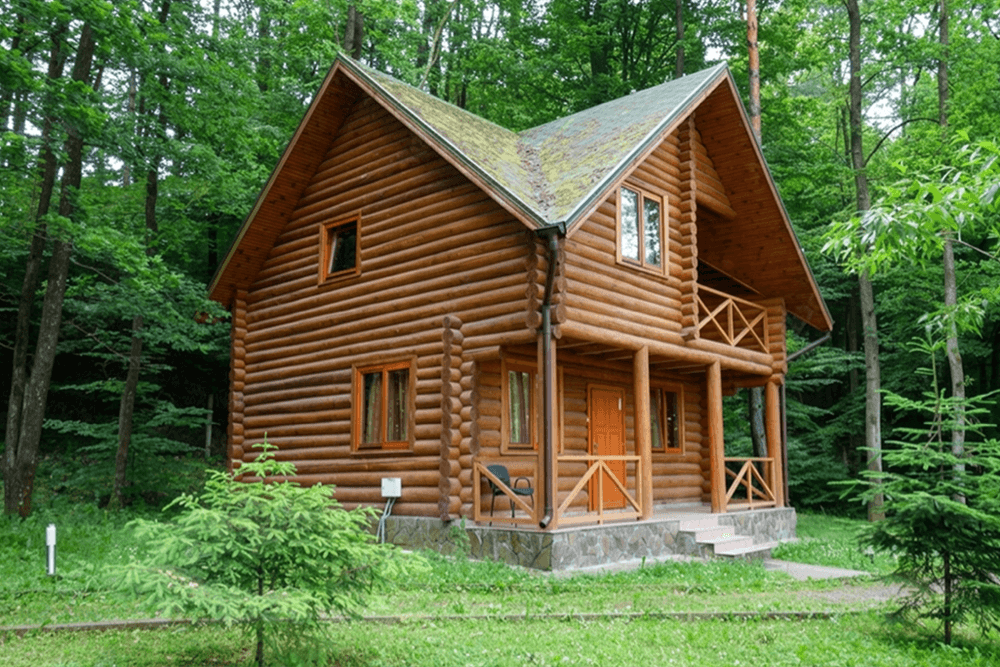
If you’re in need of the best tongue and groove boards, contact the Woodworkers Shoppe today. We have a variety of hardwoods to choose from with different finishes, which will help make your home feel more like a warm refuge come wintertime. Our team is confident that we can deliver on all aspects of installation for any project size or difficulty level you may be interested in tackling yourself. Contact us today to find out how our professionals can assist!


Recent Comments