
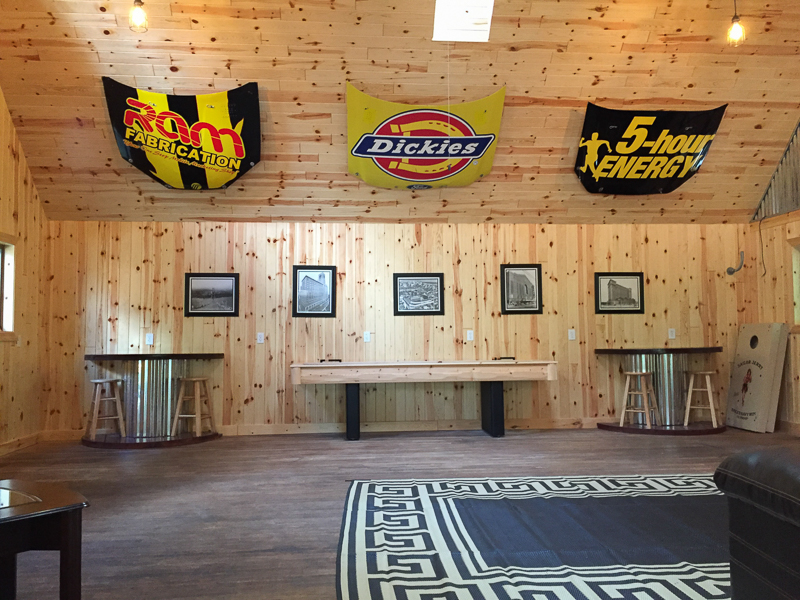
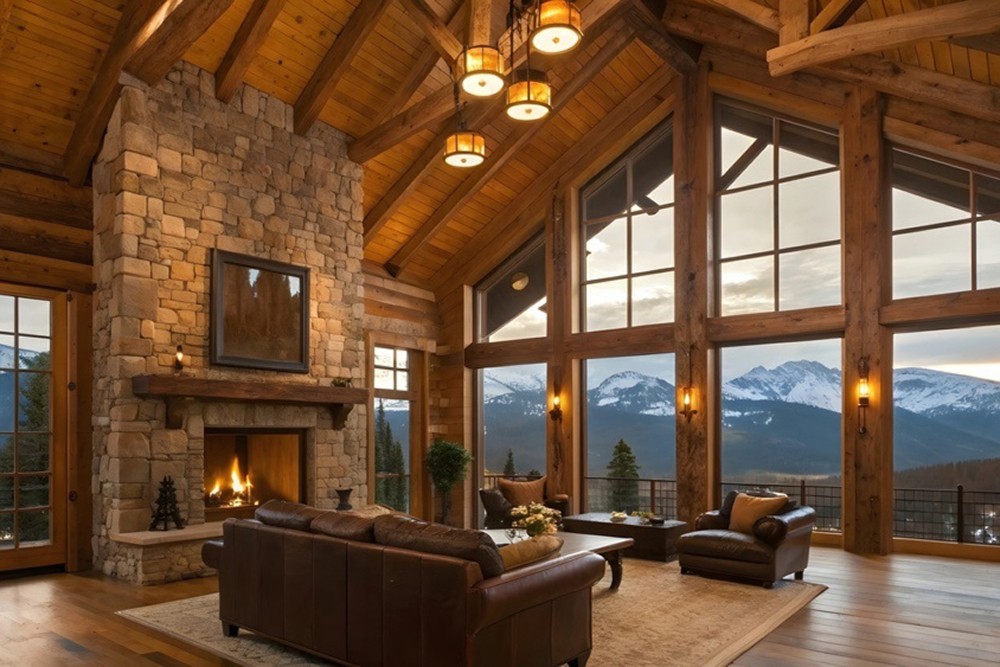
You can create a new look in any room when you use tongue & groove wood paneling for walls and ceilings, and with reclaimed barn wood or rustic paneling from The Woodworker’s Shoppe, you can create completely unique interior spaces that evoke the past.
Installing barn wood panels and knotty pine paneling over drywall or other materials is straightforward and makes for a great project, thanks to innovations in tongue and groove paneling design. Installation times are reduced compared to older paneling, and you’ll be left with walls that are near-seamless, looking as if you’ve had a professional out for installation.
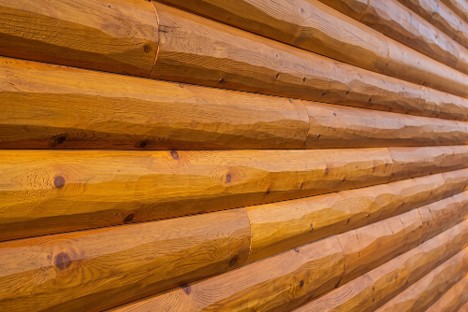
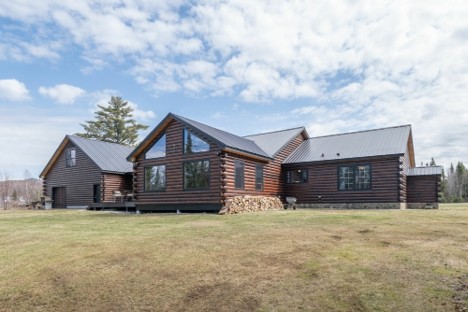
If you want to get started with a paneling project but you need a few tips on installation first, then this guide to installing tongue and groove walls and ceilings will be exactly what you’re looking for. And remember to also check out our guide to installing log cabin siding on your exterior to complete you log home look.
Choose Your Preferred Finish
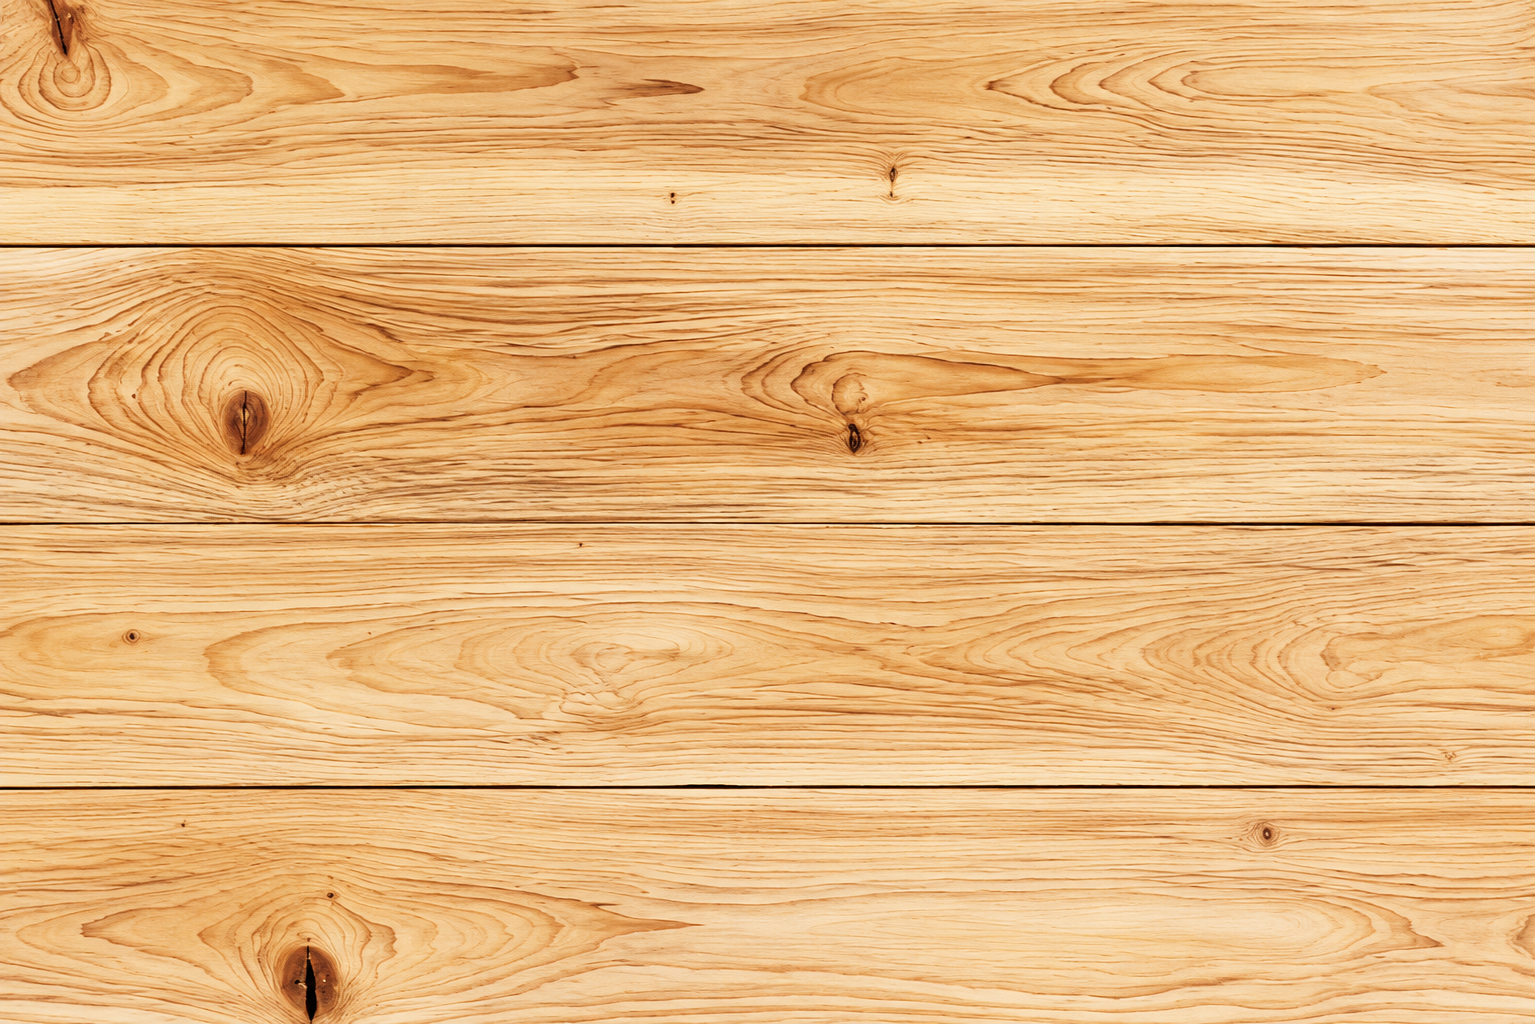
Before you even get started with your wood paneling installation project, you’ll need to choose the right material and finish for the look that you want. Rustic tongue and groove paneling for walls is great if you want a classic looking room, but there are plenty of other prefinished panels available in pine and cedar. Choose something that matches the overall theme you’re aiming for, and also think about the impact your wall choices might have on the furniture that you’ll be putting in the room.
Figure Out How Much Material You’ll Need
To get your room measured up, start by determining the length and height of each wall, and the ceiling if you’ll also be installing wood paneling there. Height x Length = total surface area, which will help you to order the right quantity of paneling to get the job done.
Start Assembling Your Wall
Our tongue and groove wood paneling for walls and ceilings goes beyond top and bottom matched pieces because we also end match all of our paneling. This means that you won’t need to worry about lining up each individual piece to your wall stud/rafters pattern.
- Remove any old trim from your walls.
- As each section of tongue and groove wall paneling is installed, don’t worry about stud/rafters overrun. Secure sections with a nail on the tongue, and simply slide in the next cut when you need one. If it doesn’t line up to the stud/rafters, the end matching ensures that you won’t have any problems.
- Once you start to get into the rhythm of installing your tongue and groove walls, you’ll find that the process is extremely quick, even for relatively large rooms.
- For the best look, alternate your seams, moving from left to right and then right to left can help with this.
To see just how easy it is to install our tongue and groove wall paneling, take a look at our quick installation video here.
Installing a Tongue and Groove Ceiling
Once you’ve installed your tongue and groove wall paneling, you can move on to the ceiling. The process here is almost exactly the same. You’ll start from one corner. And use existing studs/rafters to mount each piece of paneling. Again, you don’t need to worry about any stud/rafters overrun, and ends of a section do not need to be matched to the stud/rafters. You will need to again alternate your seams for the best look, so try not to line up any of your seams, and don’t leave all of your smaller sections on one side of the ceiling.
While you’re installing rustic paneling or reclaimed barn wood panels on your ceiling, make sure that you compress any insulation so that you’re not left with material coming through your tongue and groove paneling, or interfering with your seams.
Finishing
 You won’t need to worry about any rough end cuts between the walls or ceiling because you’ll be able to finish off the job with matching molding from The Woodworker’s Shoppe. You can use molding along every corner edge of the walls, floors, and ceilings, as well as around doors, windows, and power outlets or light fixtures.
As a final tip, make sure that you choose prefinished paneling. Prefinished means you won’t need to worry about additional work on-site, and we use low VOC finishes so you can start using a completed room right away.
Browse the Rage at The Woodworker’s Shoppe
Despite the huge and noticeable improvement to a room, installing tongue and groove wood paneling for walls and ceilings is one of the simplest DIY jobs for your home. Browse our range today for the best barn wood interior panels for home, or panels in any finish that will meet your design needs, and contact us if you need any wood paneling installation tips.


Recent Comments