

Keeping your log home in top condition should be a priority, and you can regularly check its condition with a little basic planning and inspection. Inspecting your home a couple of times each year is a good, practical idea to determine if your home has any signs of potential problems. Maintain or repair any issues quickly to prevent larger issues later. Let’s get started on what to do to inspect your amazing log home or log cabin.
Create A Log Home Inspection Plan
The place to start is creating a drawing of your home, using a notebook to jot down issues while you conduct the inspection, and using a checklist of what to inspect. Use your phone’s camera or a digital camera to take pictures of issues during the inspection. You won’t have to remember the problems you find (if any), and you can show them to a repair person as you discuss them. Inspecting, maintaining, and repairing your home will help maintain its appearance and integrity through the year. The following steps should be included in your log home checklist:
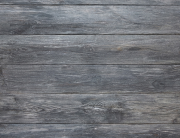
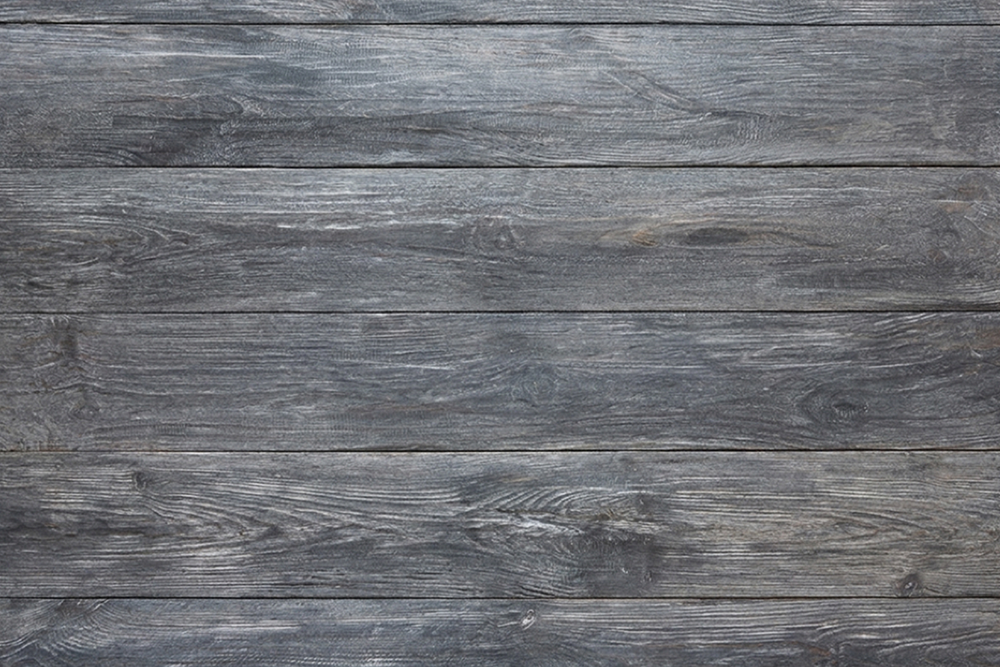
- Visual Inspection: Walk around your home in the spring and fall to check for signs of damage, such as cracks, bulges, loose log siding, or missing caulking.
- Gutter and Downspout Maintenance. Ensure gutters are clean and downspouts are functioning properly to prevent stopped up sections and water damage.
- Roofing, Siding, or Logs: Inspect the roofing for missing or damaged shingles or metal, and check the window and door trims and siding for damage.
- Dormers and Flashing: If you have dormers, check around them and the flashing on the roof.
- Foundation: Look for signs of damage around the foundation, such as cracks or bulges, and ensure water runs off away from the foundation.
- Pest Prevention: Keep plants and trees away from the home and store firewood properly to prevent pest infestation.
The Exterior Log Home Inspection
 Before conducting your spring and fall inspections, wash down the exterior walls with a high-quality log wash. It will be much easier to see the condition of your home when it’s clean and dust, dirt, pollen, and debris are removed. Now, let’s get started with the details.
- Inspect one wall at a time by standing back at a distance and walking all the way around the house to check the most obvious sections.
- If you suspect filled gutters and blocked downspouts, get up on a ladder, and fill each gutter with water from a garden hose and observe what happens.
- Roofing may experience damage from a windstorm, hailstorm, or general wear. Climb up on the roof to check it out, or ask someone else to do it if you are not able. You can use binoculars to inspect up there before you go on the roof. While up there, inspect the dormers and metal flashing on the roof for their condition and any water damage.
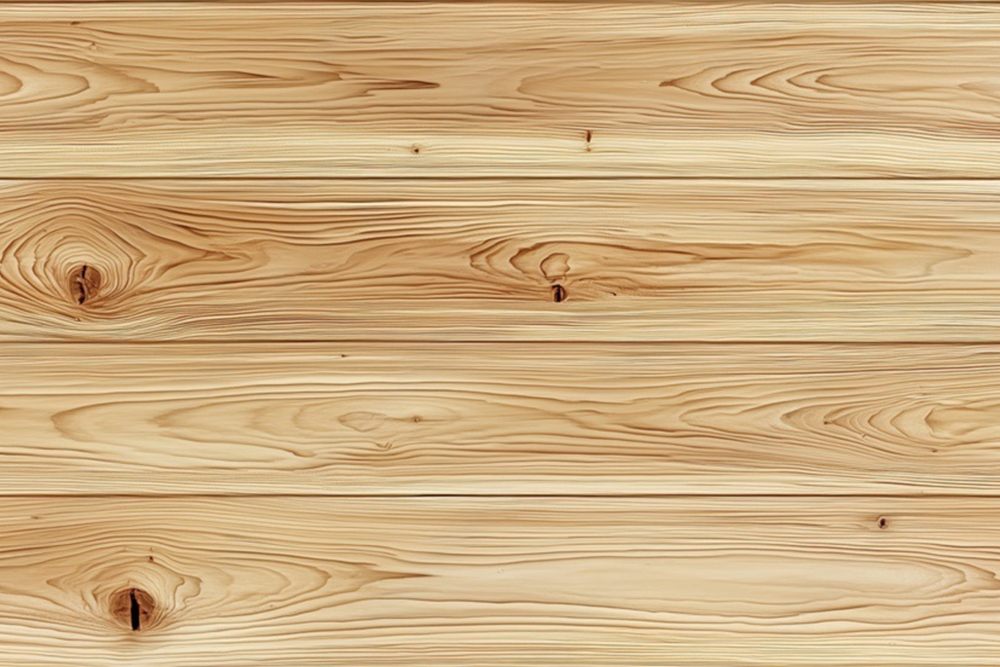
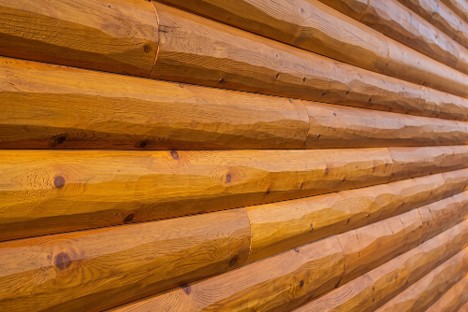
- Inspect the wood log siding or full logs by observing their general appearance, especially the south and west walls. The walls may need staining if it’s been several years since this was done. Cracks will need filling, loose caulking or chinking will need to be replaced, and log-end checking needs to be addressed.
“Keeping your log home in top condition should be a priority, and you can regularly check its condition with a little basic planning and inspection.”
- Turn on your sprinkler system if you have one to ensure the water does not hit the walls or foundation. If it does, adjust the water spray for a shorter spray distance.
- Plants, shrubs, and trees should be at least two feet away from walls and limbs at least three feet away. If plants are an issue, trim them back or move them.
- If you have a wood-burning stove or fireplace, never store firewood up against the walls or foundation, and never store it on a porch.
- If you see any log siding or log damage in the walls, around doors or windows, or at the ends of logs, determine its severity and have it repaired. Study this helpful article about home inspections from This Old House.
The Interior Log Home Inspection
The exterior is not the only place to inspect your log home; the interior should also be checked every spring and fall. Begin by gathering tools, such as a flashlight, measuring tape, and a checklist to evaluate various areas of your home. Inspect the walls, ceilings, and floors for cracks, peeling paint, or water damage seen in the form of stains or dampness.
Test faucets, showerheads, and toilets for leaks and electrical outlets and panels for any signs of damage or overheating. Unplug any appliances or electrical devices that don’t need using regularly. Next, test all electrical outlets, switches, and light fixtures, and verify that heating, ventilation, and air conditioning (HVAC) systems are functional. Test smoke and carbon monoxide detectors, and check for musty odors or other signs of moisture and mold. Ensure the doors and windows open and close smoothly, and notice any damage to them.
Do-it-yourself home inspections may seem like a lot of work, but they are necessary to find any problems before they become major issues. You can save financial loss, enjoy peace of mind, and become a budding expert in home inspections in the process.


Recent Comments