

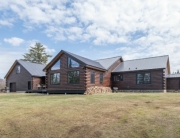
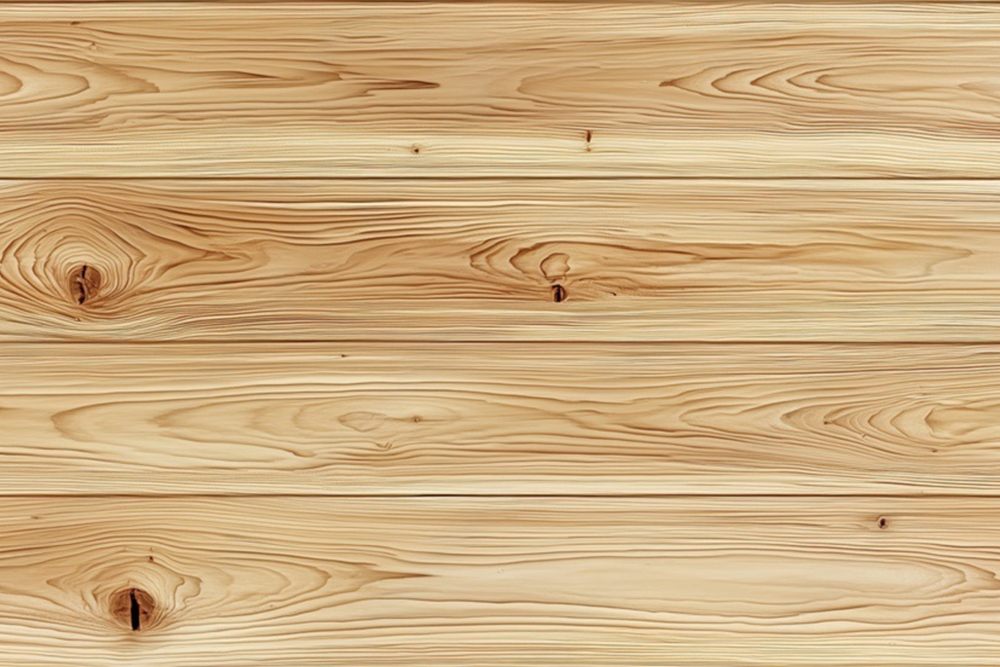
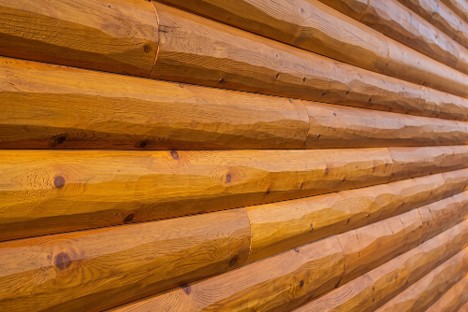
Are you contemplating the type of material for the walls of your new home or replacing the existing wall covering? Instead of installing drywall, why not use knotty pine wood? Knotty pine paneling, beadboard, and wainscoting are versatile materials used for wall and ceiling treatments, offering a rustic or classic look.
Knotty pine paneling applications range from full-height walls to wainscoting for wall protection and appearance, and can include decorative elements, such as chair railing and ceiling molding. These materials can be installed in various patterns such as horizontal, vertical, diagonal, or herringbone, and stained to match different decor styles.
Knotty Pine Paneling Applications
When you talk to people who enjoy knotty pine paneling, they will talk about their walls, ceilings, decking, and pattern applications. Here are favorite ideas about using beadboard:
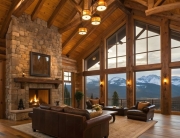
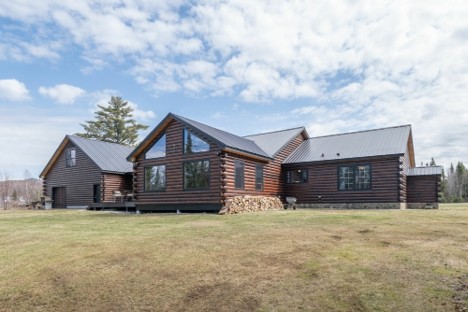
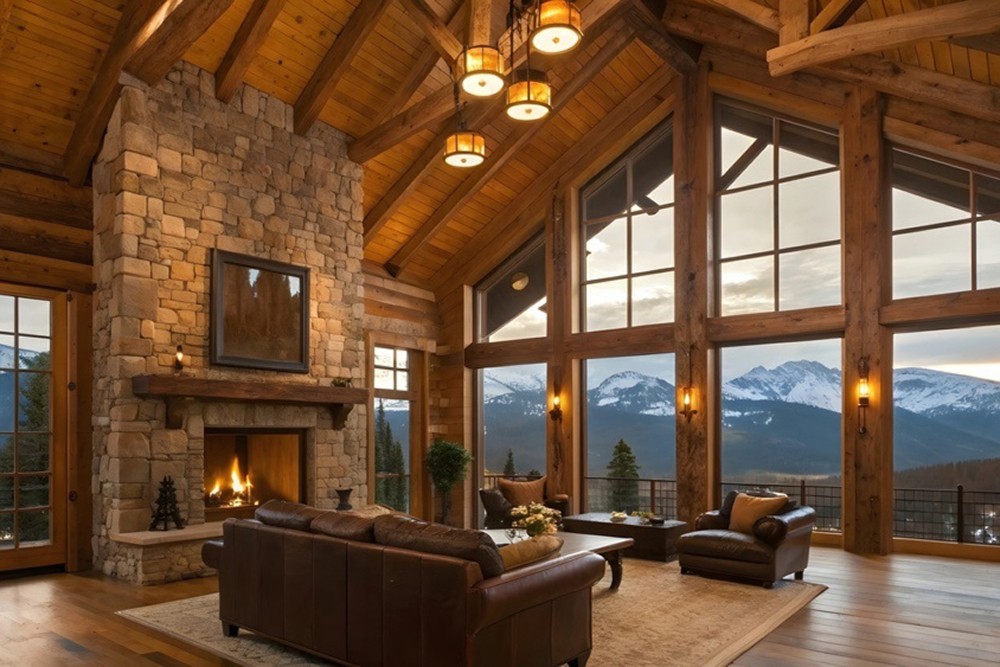
- Full-height walls: Create a complete log cabin or rustic aesthetic for an entire room.
- Ceilings: Add a unique look to ceilings, especially under lofts or walkways.
- Wainscoting: Install as protective or decorative paneling on the lower half of a wall, often with a different finish or material above it.
- Decking: Use for decking under lofts and walkways.
- Patterns: Can be laid out in standard or unique patterns, including horizontal, vertical, diagonal, herringbone, or chevron.
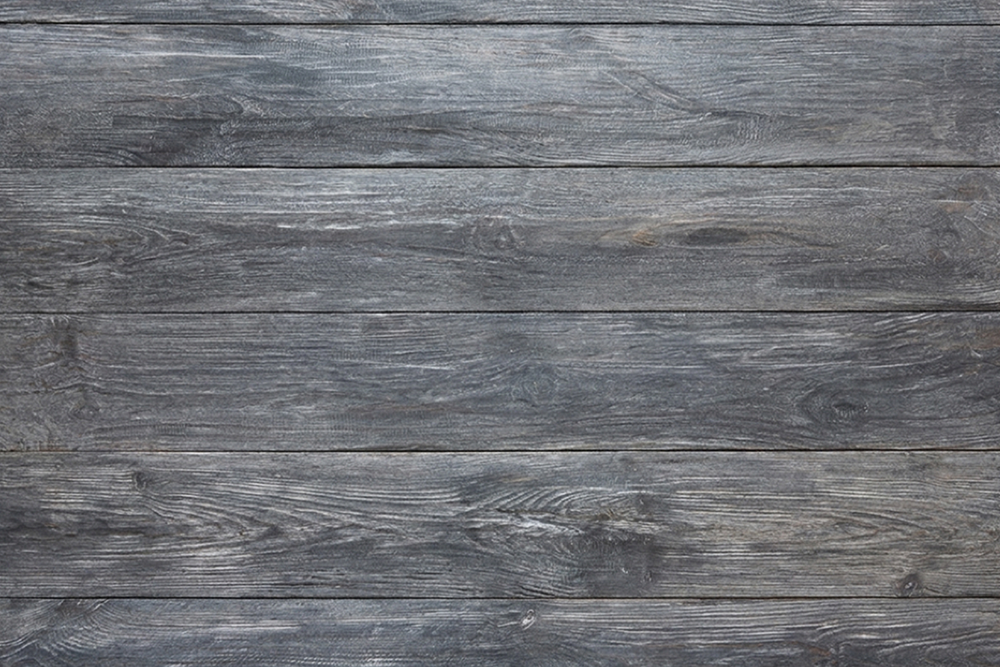
We recommend staining knotty pine instead of painting raw wood. Stain sinks into the wood, while paint sits on top of it. Some natural resin around knots may seep through the paint and look unacceptable.
Pine Beadboard Paneling is Gorgeous
 Beadboard wainscoting is a classic application, often used to provide a cottage or farmhouse look. Beadboard can also be used for full-height walls, especially in smaller rooms like bedrooms or offices, and can be installed horizontally, vertically, or diagonally.
Beadboard looks great on ceilings to add character to a room. It can provide decorative accents by placing around doors and windows, or as a backsplash. This material is available in several widths for easy installation, suitable for both residential and commercial projects. Finish it with a clear coat, or stain it your favorite color, followed by a clear top coat.
“Knotty pine paneling, beadboard, and wainscoting are versatile materials used for wall and ceiling treatments, offering a rustic or classic look.”
Wainscoting Is Coming Back Into Fashion
 Wainscoting has been around for centuries, reached its height in popularity in the early 1900s, and, is making a strong comeback. Ponder these pine paneling wainscoting ideas:
- Wall protection and decoration: A type of wall treatment that covers the lower portion of walls, protecting them from chair and furniture damage and adding a decorative element.
- Classic applications: Traditional styles include raised panels or flat panels, typically with a chair rail at the top.
- Modern applications: Modern wainscoting can be achieved with beadboard, which adds a different texture and style.
- Versatile: Can be used in various rooms, including kitchens, bathrooms, and hallways. It is also used to break up a large or stark wall.
- Mixed applications: Combine with other finishes, such as wallpaper or paint to create contrast and visual interest.
- Pre-finished paneling: Pre-finished paneling is available for a faster and easier job.
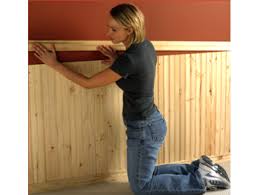
Installing Knotty Pine Paneling On Walls
Knotty pine paneling is a product that can be installed by carpenters or homeowners with woodworking knowledge and skills. Many homeowners enjoy using their creativity to install paneling in a newly constructed home, feeling a sense of accomplishment and saving money.
Pine paneling is installed on wall framing with a nail gun for faster application than nailing it manually with a hammer. Follow these steps for a successful wall project in a newly built home:
- Ensure adequate insulation is correctly installed in the wall framing.
- Begin with the bottom row by pointing the tongue down, leveling the board, and placing it about ½” above the floor with a few small wood blocks under it for support.
- Nail the paneling into the groove and into wall studs, at a 45-degree angle.
- Butt the ends together on studs or anywhere in between them because the joints are secure and strong with the end-matching design.
- Continue up the wall, and use the cut-off pieces to start the next row.
- Install new pine trims and baseboards with your nail gun where needed.
If you live in a completed home and want to replace drywall or cover it with beadboard paneling, follow these steps:
- Lay mats on the floor to protect it while removing the drywall.
- Start by removing the trims around doors and windows and the baseboards.
- Carefully remove the drywall, screws, and nails, and discard them.
- Check the insulation for adequacy and correct installation. Replace any damaged insulation, and add more if needed.
- Install the paneling as described above for a newly built home:
- If you want to cover the drywall instead of removing it, take off the trims and baseboards. Locate the wall framing and mark it for nailing. Make concessions for wall outlets, trims, and lighting fixtures. Install it as described above, and add new pine trims and baseboards.
We hope these ideas will help you with planning and installing knotty pine beadboard and wainscoting. We wish you success with paneling projects, whether you do them yourself or hire someone to complete them.
Recent Comments