

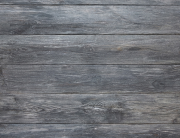
To successfully stain wood log siding, you must thoroughly prep the bare wood, apply a specialized breathable log stain, and vigorously back-brush the finish to ensure deep penetration. Unlike standard dimensional lumber or painted siding, logs naturally trap and release moisture. Using the wrong product or applying it like regular paint will trap this water, leading to a bubbling, peeling surface and accelerated wood rot.
Wood log siding must be installed and stained/sealed correctly to retain its durability and beauty. It can be applied with a sprayer or brush, depending on the product and manufacturer’s specifications. Stain products are made specifically for interior or exterior walls. Consult a professional if you are unsure which product to use.
Choose The Right Products
 You must choose the right products before staining the wood log siding. These include cleaners, stain (and insect protection if you need it.) Consider these ideas for a beautiful wood finish:
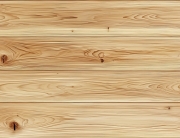
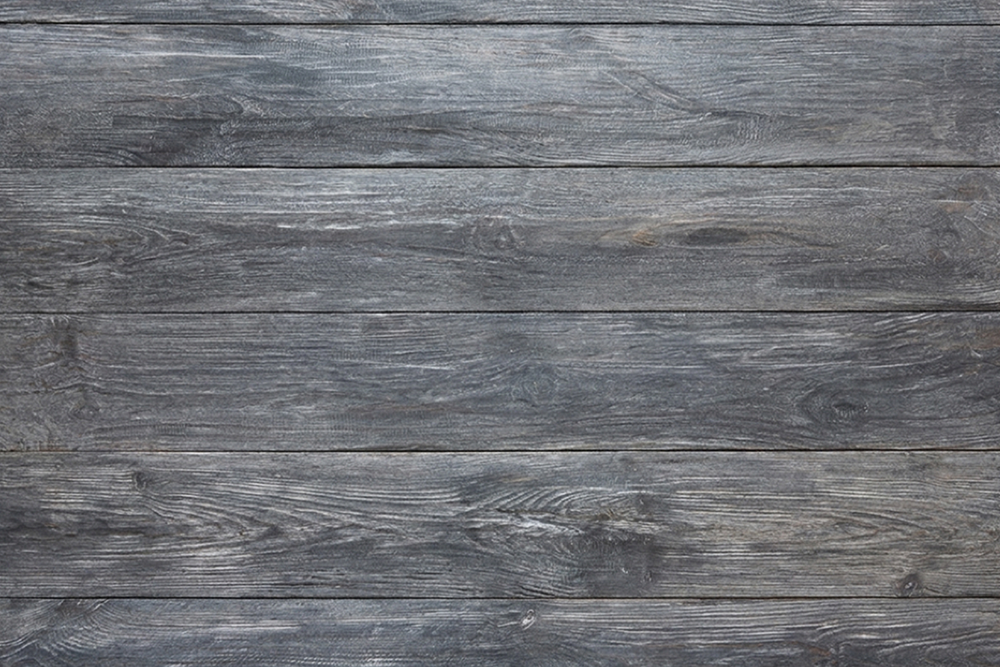
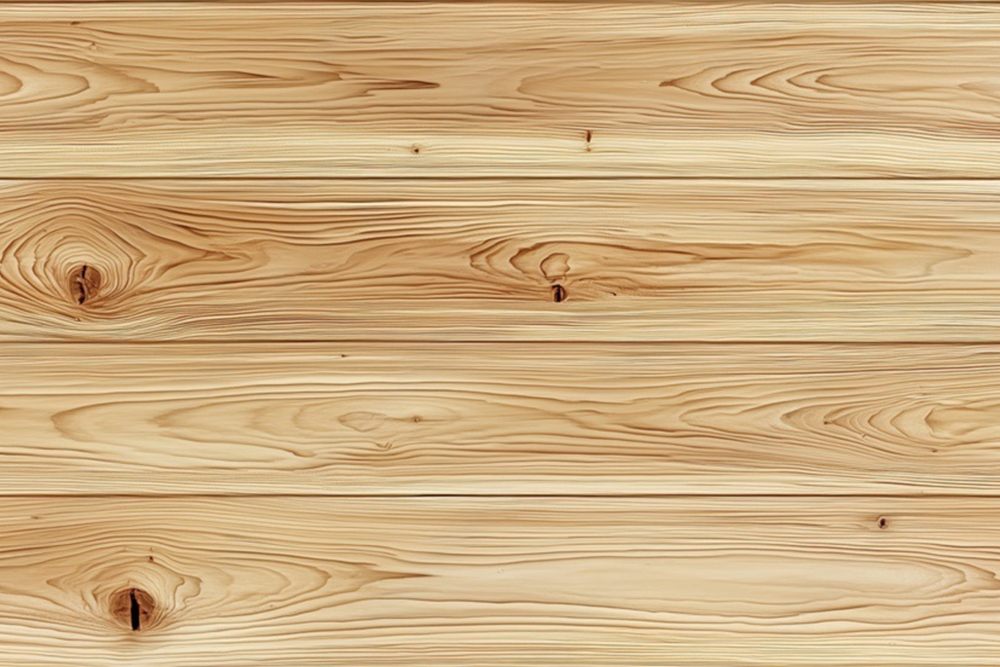
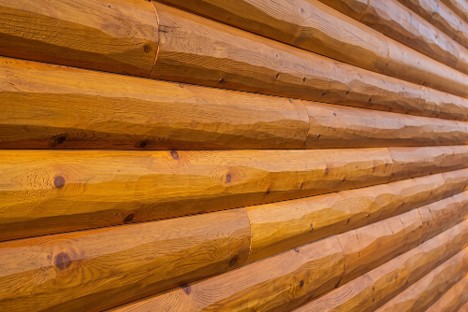
- Wood Log Siding: Northern red pine is the most economical wood product for siding. Choose quarter log, half log, or premier log with either a smooth or hand-hewn surface.
- Wood Cleaner: Factories typically clean the log siding well before it is packed and shipped. Sometimes it may become dusty during shipment and storage at your building site. Buy a good cleaner, such as Perma-Chink Log Wash.
- Specialized Stains: Do not use traditional exterior deck stains or paints. Opt for premium formulas engineered to work perfectly with natural log movement, such as Sashco Transformation or Sundance Coatings Log*1.
- Oil vs. Water-Based: High-quality oil-based stains penetrate deeply and are easy to maintain, while modern water-based log stains offer excellent UV protection and zero volatile organic compounds (VOCs). Remember that water-based formulas cannot be applied over old oil-based products.
- Clear Coat: Lifeline Advance Satin Top Coat is a great product.
- Caulking: Conceal or Perma-Chink Caulking closes gaps well.
- Application Materials: Purchase brushes, sprayer, solvents, rags, gloves, and any other application and clean-up products when you buy the stain.
Evaluate And Prepare The Wood Log Siding
In this article, we are describing staining new wood that has not been previously stained or painted. This is the typical case when building a new log home, adding a room, or porch. Use the following steps for the best job once the log siding arrives:
- Stack for Acclimation: Stack the wood log siding according to the supplier’s recommendations for several days to acclimate to your climate. Cover the siding completely to protect it until you are ready to clean and stain it.
- Deep Clean: Wash away dirt, mildew, pollen, and lingering mill glaze using a dedicated wood cleaner or log wash. When washing, spray the cleaner from the bottom up to avoid permanent streak lines. Rinse thoroughly from the top down.
- Dry Completely: Let the wood dry completely for 3 to 7 days, depending on the local weather. Use a moisture meter to ensure the moisture levels are strictly below 18% to 19% before opening a can of stain.
- Fix Checks and Chinking: Seal any upward-facing wood checks (cracks) larger than one-quarter inch using a foam backer rod and a flexible, stainable log sealant.
“To successfully stain wood log siding, you must thoroughly prep the bare wood, apply a specialized breathable log stain, and vigorously back-brush the finish to ensure deep penetration.”
Protect The Surrounding Areas
When you are ready to begin staining, ensure you first protect the surrounding areas that do not need staining. Use a professional masker tool, tape, and durable plastic sheeting to cover all window panes, glass doors, trims, and light fixtures.
Protect unstained exterior areas by laying down drop cloths over nearby landscaping, brick foundations, porches, and concrete walkways to catch drips. Lay down a drop cloth inside each room to also protect the floors, and cover any furniture, appliances, etc.
Apply The Stain Correctly
 If you have the time, desire, knowledge, and skills to stain the siding, go right ahead. If not, hire a professional painter with experience staining wood log siding. Follow these steps:
- Mix Constantly: Stir the stain thoroughly before you begin and frequently throughout the day. Pigments are heavy and rapidly settle to the bottom of the bucket, which can cause patchy, uneven coloring across your walls.
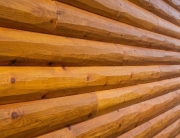
- Spray and Back-Brush: Use an airless sprayer to apply a generous, heavy coat of stain onto the log surface. Have a partner immediately follow right behind the sprayer with a wide, high-quality oil or nylon brush to vigorously push the stain into the wood grain, pores, and corners.
- Maintain a Wet Edge: Work horizontally along one or two complete logs at a time, moving from one corner or structural break all the way to the other side. Stopping in the middle of a log will create noticeable, dark lap marks when you try to blend it later.
- Apply Two Full Coats: Follow the manufacturer’s instructions for the stain you have chosen. If a second coat is necessary, make sure to carefully read and understand when to apply it. A few stain products are available that only require one coat.
Add a Clear Topcoat: If recommended by your product line (such as using Lifeline Advance over Lifeline stain), apply a clear topcoat to provide an extra water-repelling barrier and guard against harsh UV fading. Ensure the stain is thoroughly dry before adding the clear top coat.
Conclusion
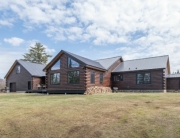
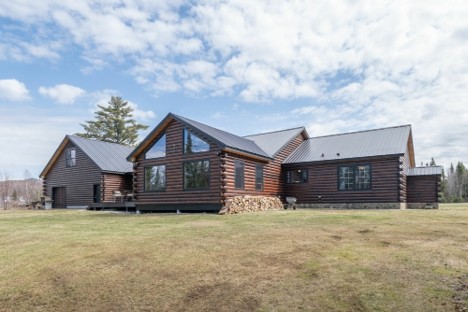
Properly stained and finished pine log siding is gorgeous and will maintain its luster for many years. It will need restaining at some point in the future as recommended by the stain manufacturer and in part, determined by your climate. Our log cabin associates will be happy to help you select the right wood log siding and stain products for a professional wood log siding project.

Recent Comments