 Try Prefinished Pine Paneling
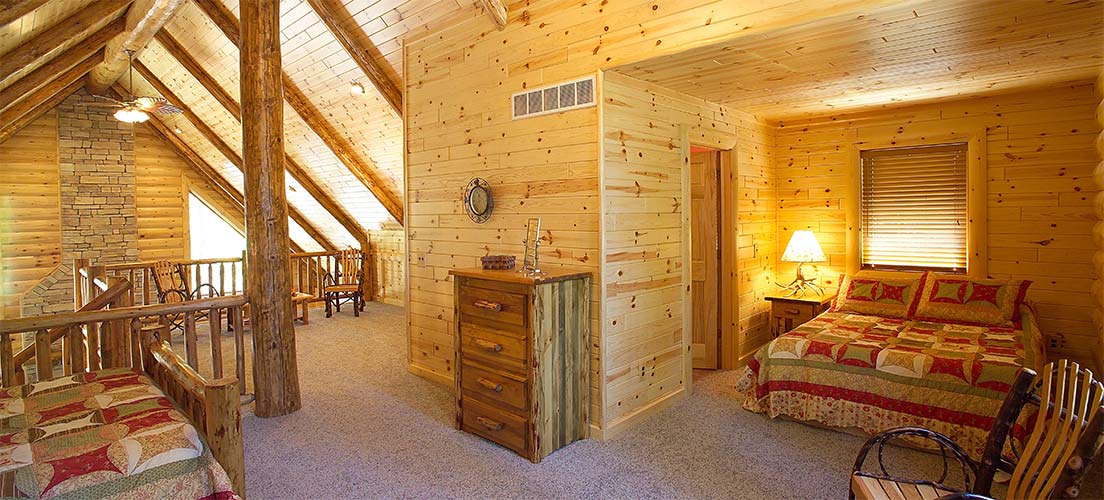
Working on any kind of home renovation is going to be difficult, but we’d like to think that our prefinished pine paneling makes the job just a little bit easier, even if only marginally. First of all, we have a patented tongue and groove end matching system. Making it not only simple, but reduces the waste during the course of the pine interior paneling installation. While this is definitely a plus, there are still some things that you will need to prepare for your installation. Don’t worry, it’s not too difficult.
Preparing Your Walls for Pine Interior Paneling Installation
There is a general consensus that you can indeed install your pine interior paneling over drywall. Doing so, there are a few things to consider. First of all, it shrinks your homes interior slightly, even if only by a few inches. Secondly you will not be able to install the paneling vertically without a proper nailing surface. Because studs also run vertically, you would forced to modify the structure behind the drywall. Of course, unless you take the extra step of removing the drywall intact. Then you would have to install horizontal nailers between the studs if installing paneling vertically. In the end, that’s just a mess for everyone. That being said, we’re going to discuss getting your home ready before you start installing your new pine wood walls.
Tip #1: Tear Down the Drywall
This step is your choice. We can’t stress enough the importance of tearing down the drywall properly. In an ideal situation you would want to remove it completely un harmed. Let’s be honest, some of it is going to break and it will be a dusty job. Also, in another ideal situation the drywall hangers would have used screws to secure the panels to the wall. If that is the case and you can locate the screw heads, you’ll use a drill to remove them. In the event they did not, however, you will need to go so far as to use a claw hammer or pry bar to remove the panels. In some cases you will need to break them outright. The same logic will apply if you are removing an inferior wood panel from the wall – it all has to come down.
Tip #2: Clean up the Studs
 After you remove the panels or drywall you will want to make sure that the studs are properly cleaned. This means getting rid of any leftover adhesive, nails, or splinters. This would also be a good time to make sure that all of the studs are in proper condition and do not need replaced – it happens sometimes. If you find that there is a problem in that regard you would do well to call in a professional framer so that the wall can be properly braced while the stud is replaced before you install your pine wood walls.
Tip #3: Check the Insulation
While the walls are bare you have a rare opportunity to check the insulation. Sometimes insulation can be chewed by animals (rats, mice, raccoons) and you may need to replace it. While the wall is open, check over every inch of your insulation and replace as needed, you may never get another chance to do this after you install your pine wood walls.
Proceeding with Your Installation
Finally, you’ll be able to move on with your installation, putting up your interior pine paneling as you wish. The Wood Workers Shoppe provides a high quality product and is often considered to be the best cedar log cabin siding company available. Our pine interior paneling, once again, is end matched and will be extremely easy to install once you have prepared your walls. In addition to that, make sure you take a quick look at all of the items the Wood Workers Shoppe has to offer, from art murals to maps and various fixtures that will go great with your new pine wood walls. It’s time to build the rustic home you’ve always dreamed of, both inside and out.



Recent Comments