

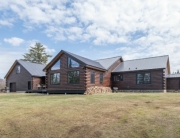
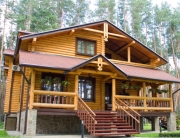
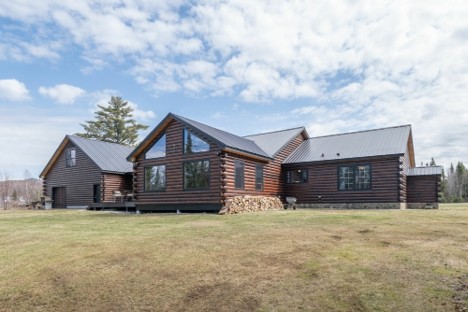
Building a log siding home requires careful planning, from design and site selection to choosing quality materials and adhering to building codes. Key steps include selecting durable, weather-resistant log siding, creating an efficient, often rectangular, floor plan, and deciding between a DIY or professional build. A sturdy foundation, proper log sealing (staining, caulking, insulation), and, in many cases, professional consultation are essential for longevity, with average costs similar to conventional home construction.
Log Siding Home Pre-Construction Planning
Planning a log siding home is both exciting and challenging, especially if this is your first time. Start with the following basics as a guide to successful construction:
- Design: Utilize architects or designers, or opt for stock plans from manufacturers to save on costs and avoid errors.
- Budgeting: Determine your budget early, keeping in mind that a 2,000 square foot log home can cost between $150 and $250 per square foot.
- Site Selection: Ensure the land has access to utilities, and consider location, such as proximity to services. Building an off-grid log siding home is a specialized project.
- Bathrooms: Plan on putting two bathrooms back-to-back or one above another in a two-story design to reduce the plumbing work and costs.
- Roof Line: Save a lot of money by keeping your roof simple with a single ridgeline.
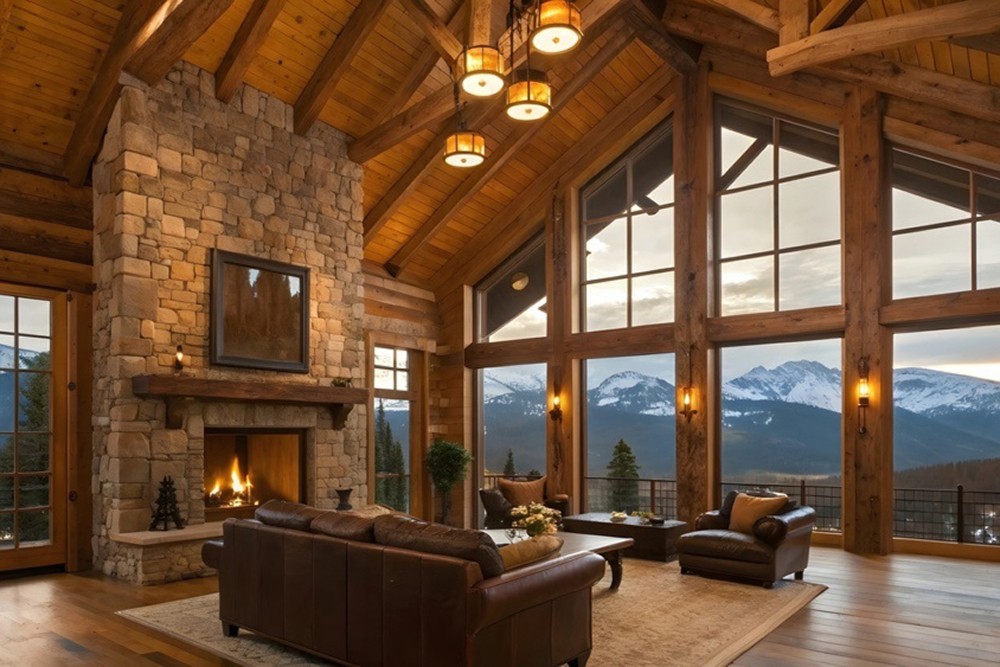
- Ceiling Height: You may want a cathedral or vaulted ceiling in the great room, but it will cost more. Keep all other room ceilings to 8’ high to save construction costs and lower heating and cooling bills.
- Permits: Comply with local building codes and regulations.
Key Planning And Design Considerations
 DIY home construction can be rewarding and less expensive, but requires significant skill and time, while experienced professional builders ensure a faster, more polished result with fewer mistakes. Plan for occasional maintenance as recommended by product manufacturers, such as staining and sealing, to protect the wood from the elements.
Give adequate thought to flat lots versus sloped lots and lots in wooded areas. Additional site preparation may increase your budget beyond its limits. When designing the floor plans, keep in mind that rectangular shapes are more economical. Avoiding excessive corners, gables, and keeping the home’s width under 30-32 feet to minimize the need for large support beams saves money.
Consider facing the home to the south to take advantage of sunlight that can help heat the interior. Larger windows brighten up the house and add more winter warmth. Electrical, plumbing, and HVAC work costs less than full log homes because it’s easier to install them within the wall framing. Learn more about log home planning in this NAHB article.
“Building a log siding home requires careful planning, from design and site selection to choosing quality materials and adhering to building codes.”
Log Siding Home Construction Process
 Now it’s time to get down to the nitty-gritty of the construction process. Building a log siding home is essentially the same as building a vinyl, fiber cement, or steel siding home. The pine log siding is attached to conventional wall framing like other siding types. Follow these steps:
- Foundation: Build adequate footers and a sturdy foundation to support the weight of the house.
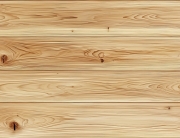
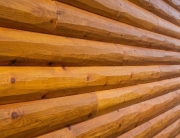
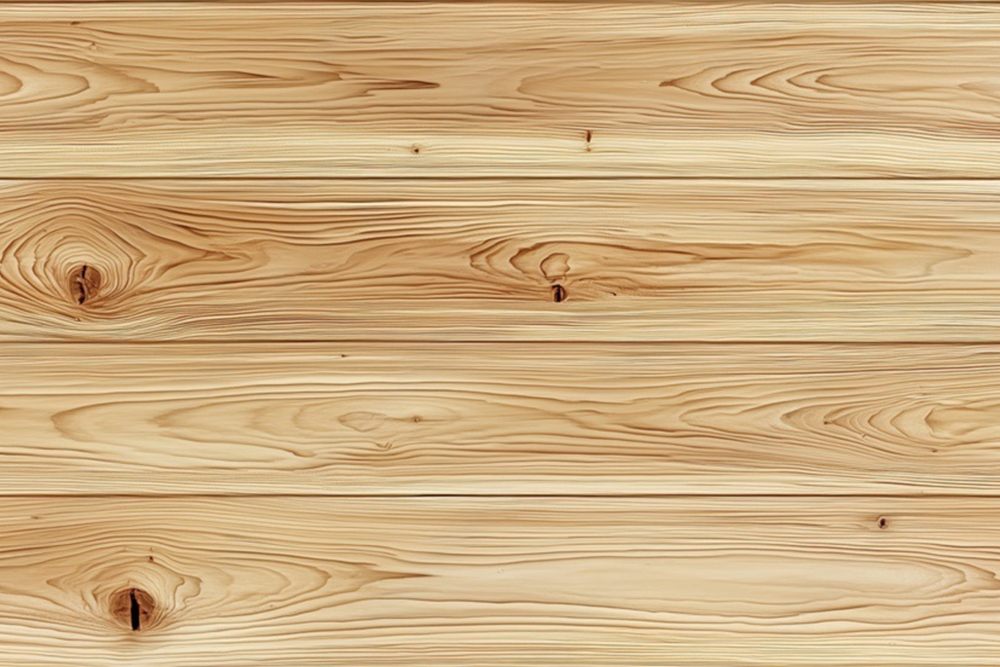
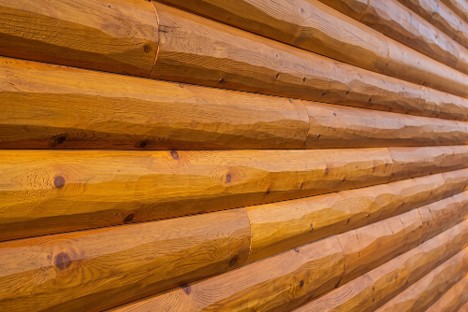
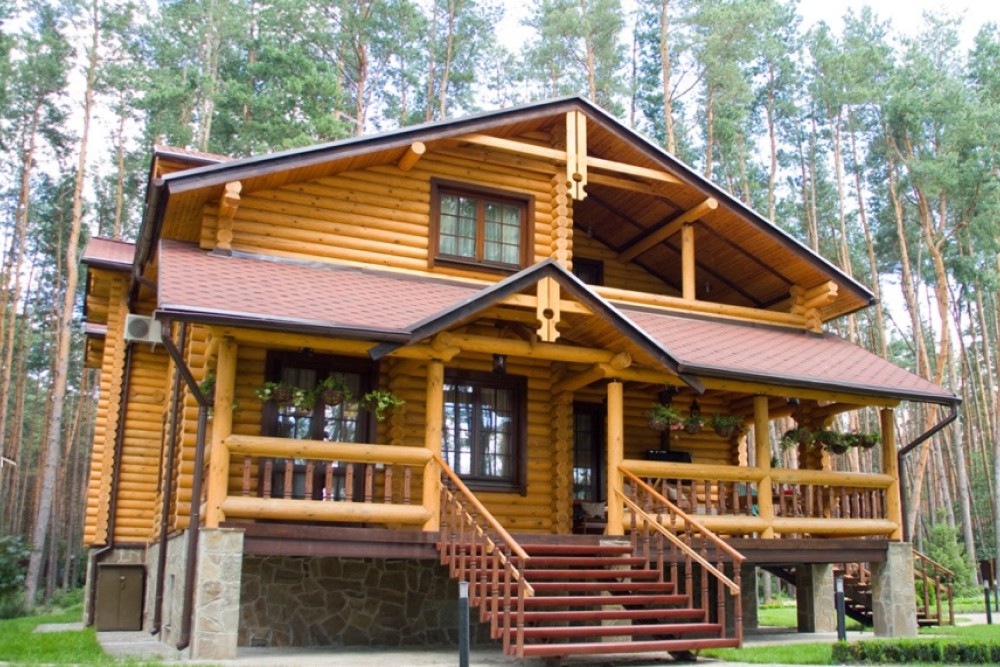
- Material Selection: Choose high-quality, durable pine log siding in either quarter log, half log, or premier D-log siding profiles.
- Floors: Install the flooring joists and put down the subfloor.
- Walls: Install 2×4 or 2×6 wall framing, OSB material, housewrap, and cut out for windows and doors.
- Roofing: Install roofing, considering materials that complement the log structure.
- Doors & Windows: Install the sealing material, windows, and doors.
- Corners and Trims: Screw log corners, door, and window trims into place.
- Assembly: Secure the log siding to the exterior OSB material and to the interior wall framing with high R-value insulation in the walls.
- Sealing and Insulation: Stain and seal the pine log siding, and apply caulking around the log corners, windows, and doors. High R-value insulation between logs helps prevent air infiltration and ensures energy efficiency.
- More Detailed Information: Learn more about the complete building process from the professionals at America’s Best House Plans.
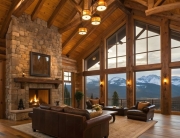
Finishing The Interior
Once the house is “dried in,” it’s time to finish the interior. Contractors typically call in the subcontractors at this point to install electrical wiring, plumbing fixtures, and the HVAC system. Next, install the door and window trims first, followed by the log siding on the stud walls, cutting out for light switches and outlets.
Installing a knotty pine or drywall ceiling comes next, followed by staining the walls and pine ceiling, and trims, or staining the walls and painting the drywall. Clean up the entire interior and lay down the flooring of your choice and the baseboards. Finish the flooring with the appropriate material, let dry, install the appliances, bring in the furnishings, and you have it.
Log siding, log corners, knotty pine paneling, knotty pine flooring, molding, and trims are available in an unfinished or pre-finished condition. Unfinished wood is less expensive, but pre-finished wood saves a lot of time, effort, cost, and there’s no mess to clean up. For best results, use tongue and groove, end-matched materials that provide superior installation and appearance.
Recent Comments