
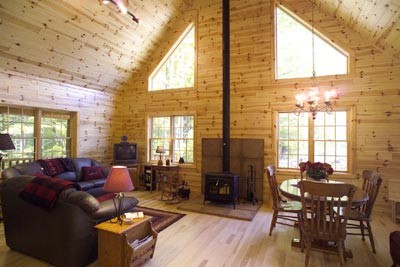
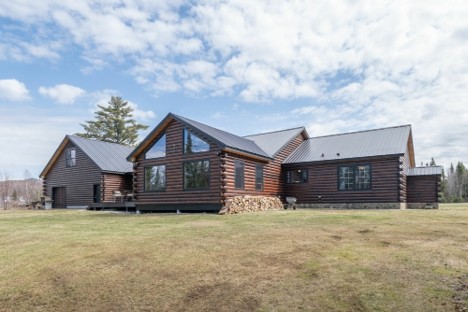
If you are looking to achieve a rustic and homey aesthetic for your walls and ceilings, consider using knotty pine paneling. This natural wonder from the forests has been used for decades in many home styles in the US, Canada, Europe, and Asia.
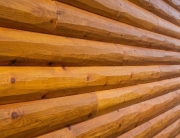
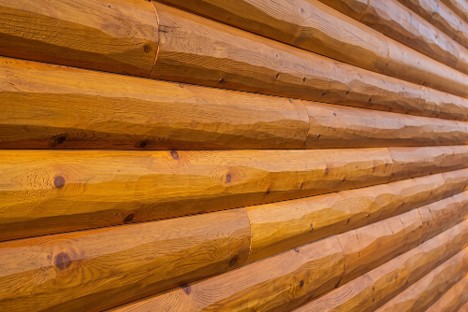
Knotty pine paneling is a versatile product that looks terrific on walls and ceilings. It can be installed in standard or unique layouts and stained or finished with a clear coat. Tongue and groove, end-matching paneling is available in 4”, 5”, 6”, and 8” widths, and ¾” thickness that provides a stronger wall. You can hire a carpenter to install this product, or if you have the woodworking knowledge and skills, do the project yourself.
Knotty Pine Paneling Is Real Wood Paneling
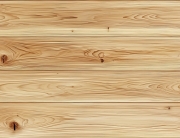
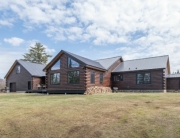
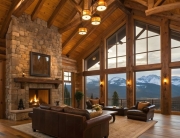
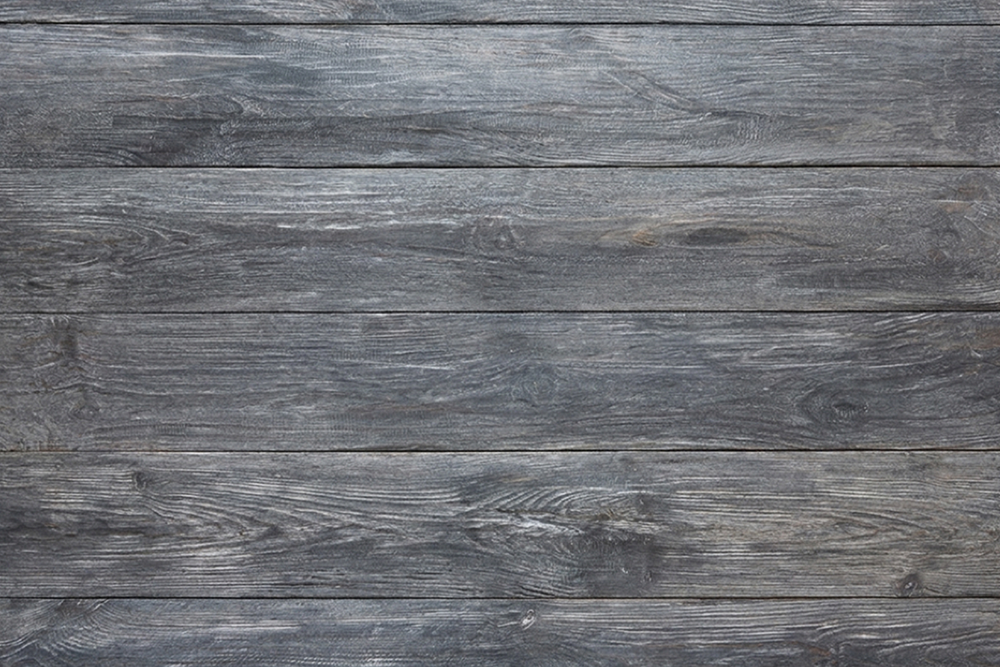
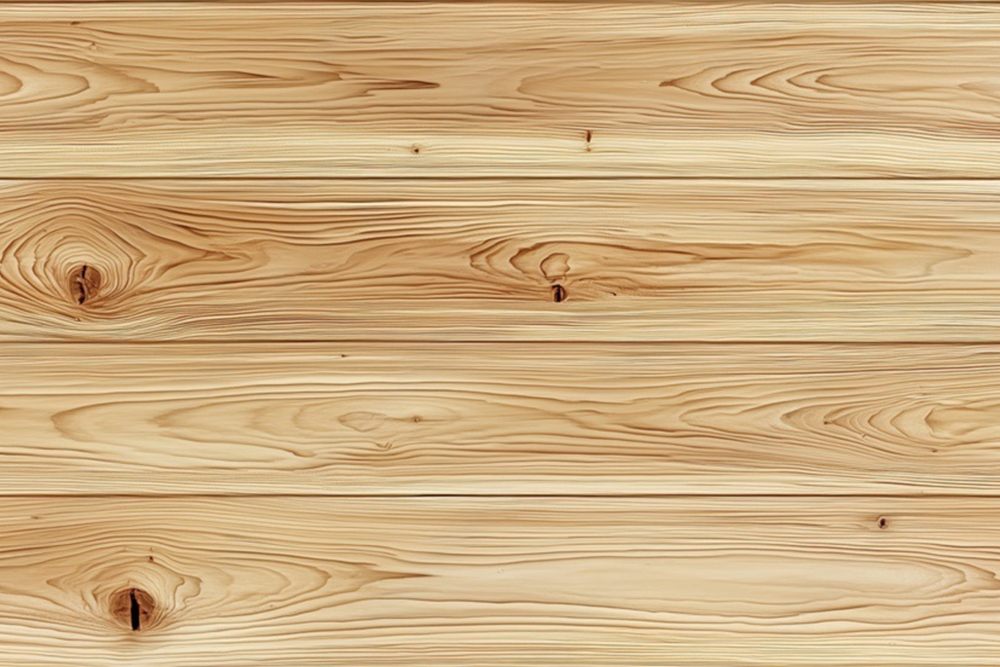
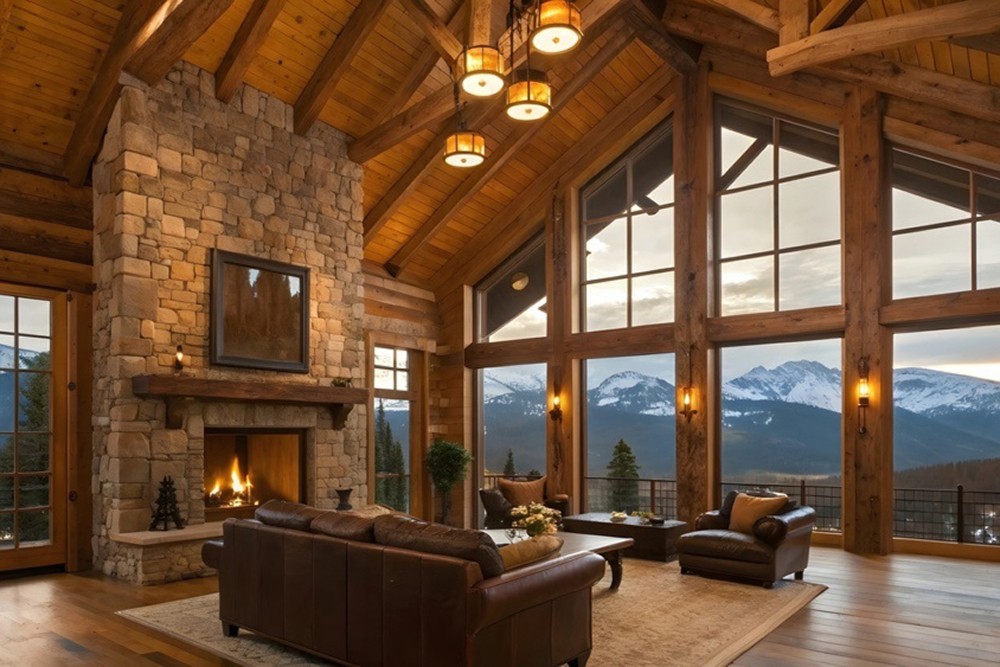
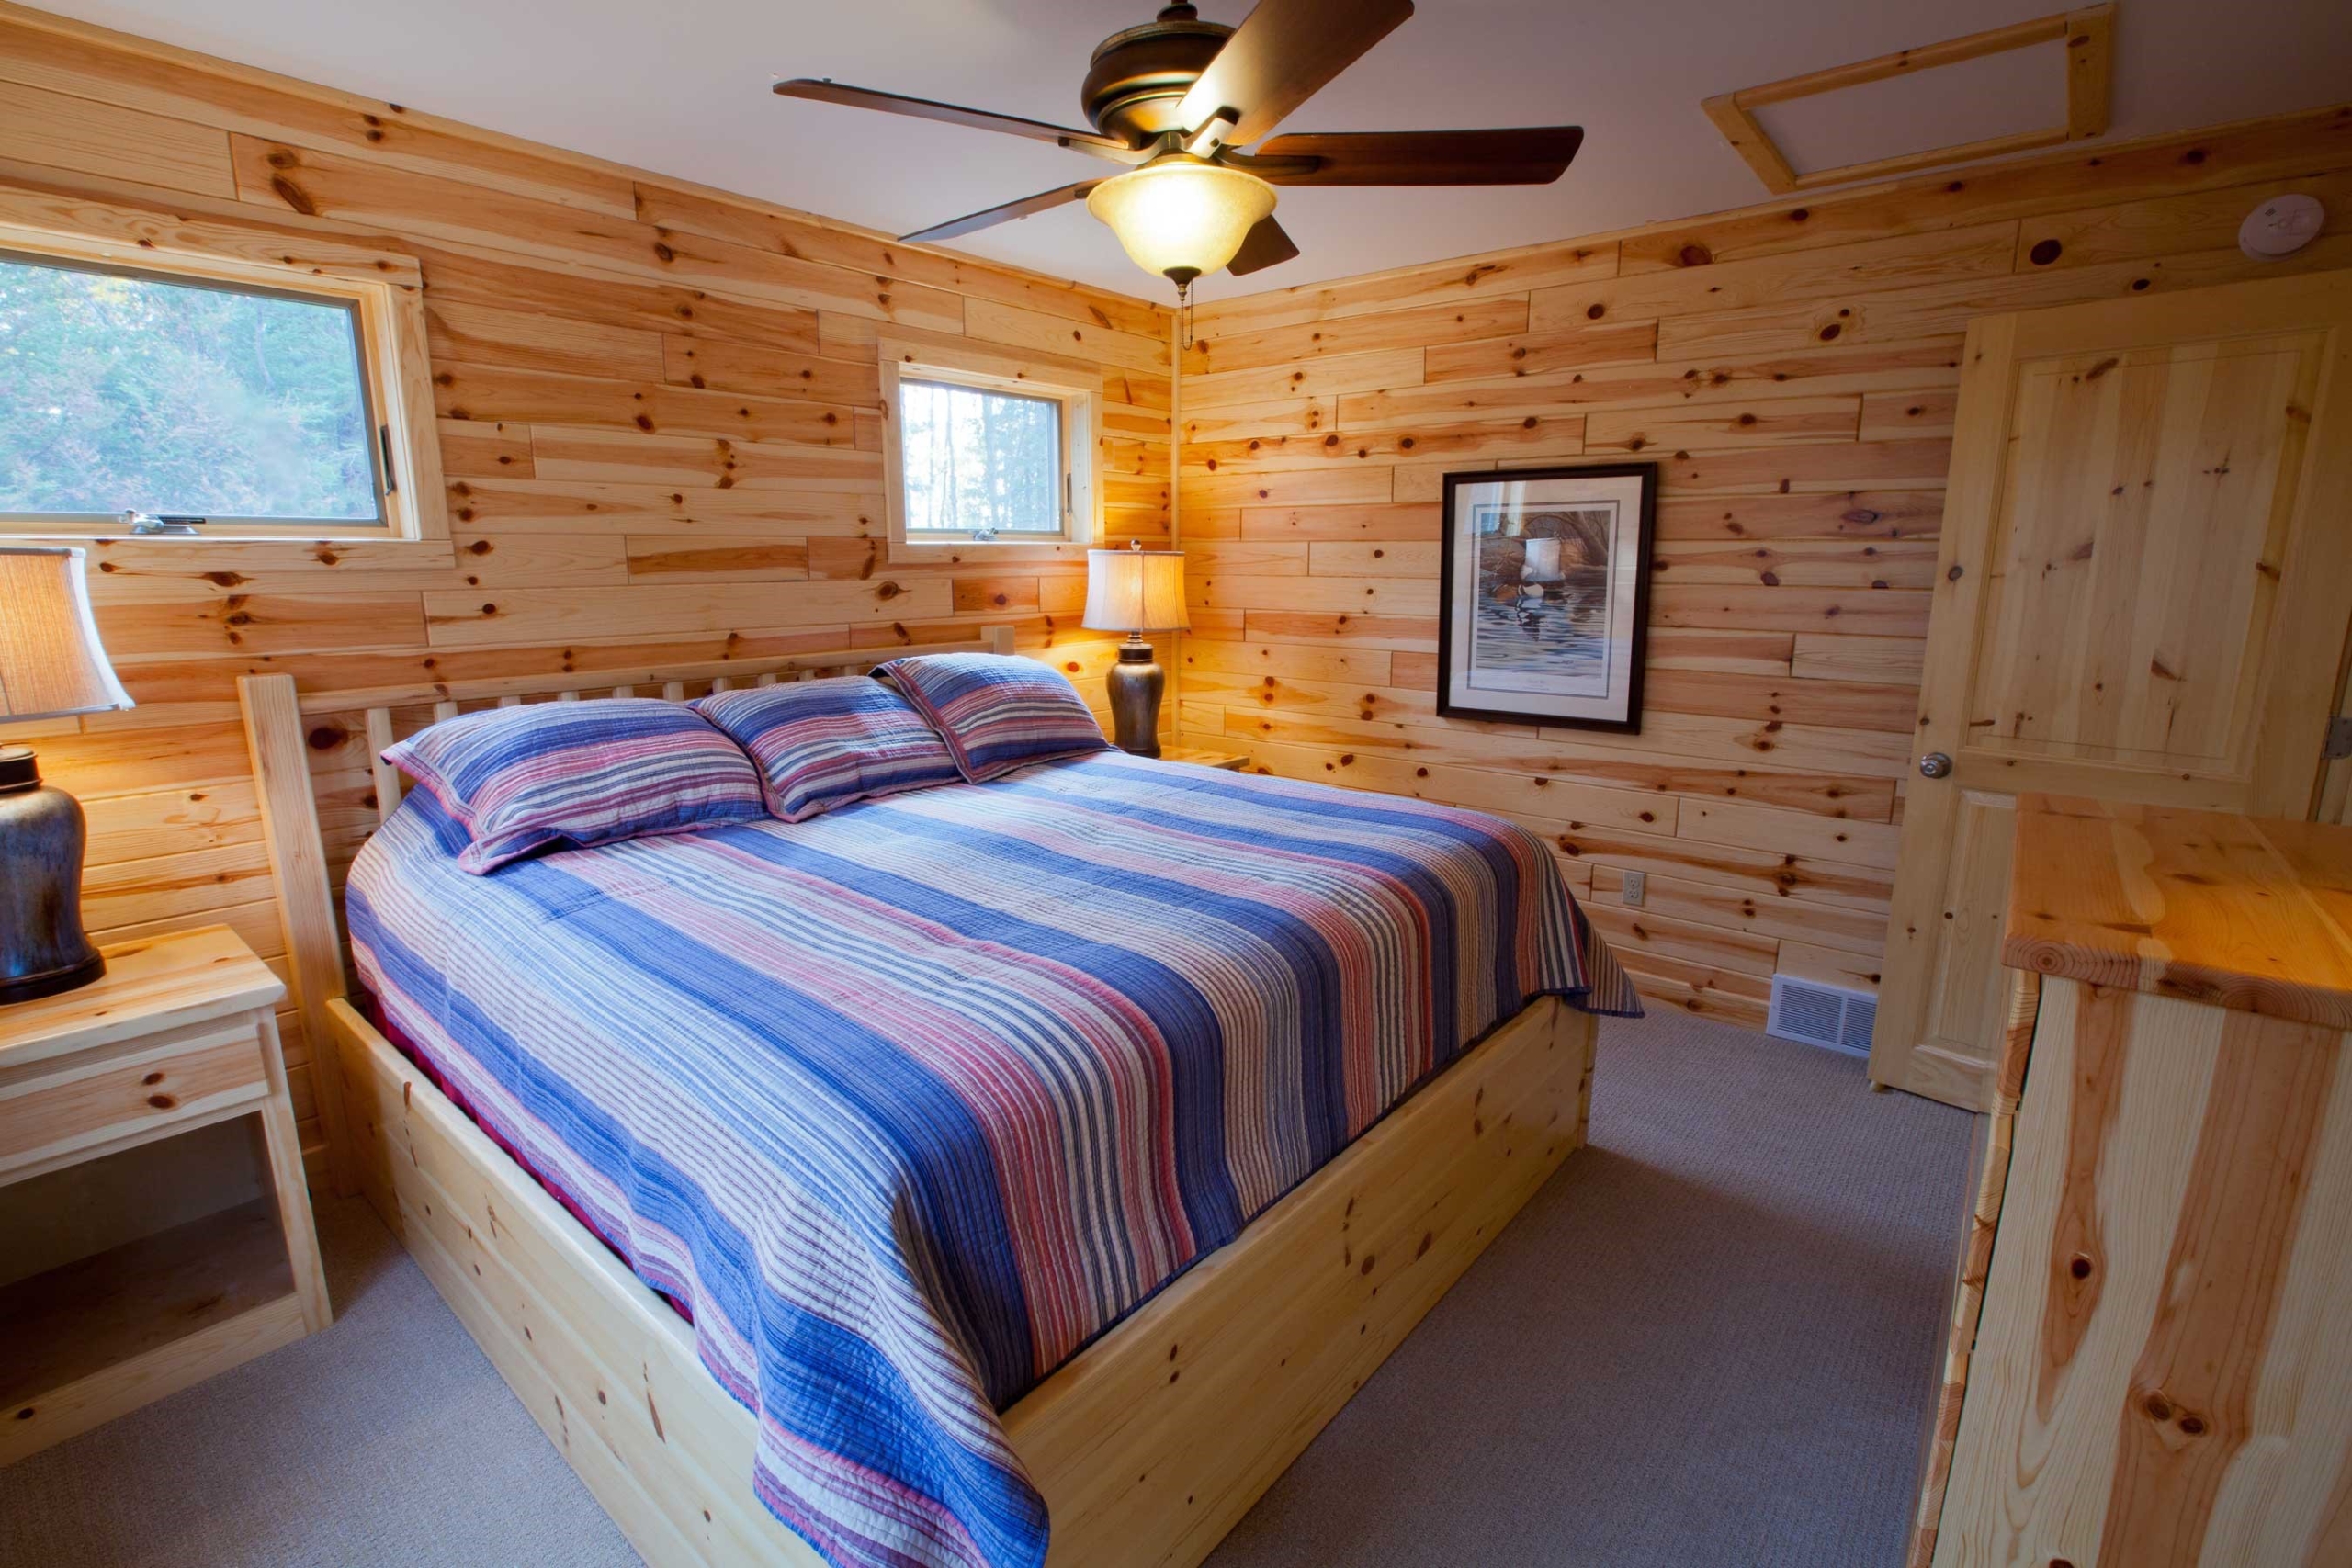 Knotty pine paneling is a type of wall and ceiling covering made from pine wood, characterized by visible knots and a rustic aesthetic. It’s known for its natural, warm appearance and is often used to create a cozy, cabin-like atmosphere in homes, lodges, and retail businesses. The knots, color variations, and sometimes mineral streaks contribute to its unique, rustic charm.
A popular variety of pinewood is red pine, also called Norwegian pine. It can be purchased as plain boards but the best paneling results are obtained with tongue and groove, end-matching paneling. This design has tongues and grooves on both the sides and ends of each piece to provide tight-filling joints even between wall framing. It lies flatter on walls than plain pine boards.
Choose between popular knotty pine in 4”, 5”, 6”, and 8” widths and ¾” thickness. The lengths vary so you can stagger the end joints for more structural integrity and aesthetics. The paneling is available in unfinished and pre-finished conditions for your convenience.
TIP: Place the paneling in each room and let it acclimate for 3 or 4 days to the temperature and humidity.
Tools And Supplies You Will Need
If you plan to install knotty pine paneling yourself, you will need basic woodworking tools, paneling, trims, and supplies. The paneling and trims can be ordered from the same supplier.
| Tools | Supplies |
| Miter Saw | Paneling |
| Level | Trims |
| Nail Gun & Nails | Wood Blocks |
| Measuring Tape | Wood Putty |
| Pencil | Sander |
| Saw Stand | Stain |
| Large Square | Clear Coat Finish |
| Vacuum or Broom | Brush or Rag |
“Knotty pine paneling is a versatile product that looks terrific on walls and ceilings.”
Installing Knotty Pine Paneling On Walls
 The first thing to do is create your wall layout plan, such as horizontal, vertical, diagonal, or a unique pattern. Take these steps to create a professional-looking wall:
- Place ¼” to ½” blocks on the floor to provide a space for expansion (if any) of the wood and start the bottom row of paneling.
- Set the level on them, and if not level, change the size of some of the small blocks.
- The bottom row is installed with the groove side up for horizontal installation. The end butts can be nailed to wall framing or anywhere between the wall framing. Set nails into the grooves at a 45-degree angle.
- Continue the bottom row to the end by sawing off the last piece and use it to start the second row. Be sure to stagger the end joints for greater rigidity and appearance.
- Continue up the wall to the top tapping each piece into place for a tight and even joint, and place ceiling molding at the top.
- If using a vertical layout, it’s necessary to secure short wood blocks between the wall framing for support as needed. Place 2 or 3 of them spaced out between the framing in each column.
- If using a unique display, such as a herringbone wall, arrange the blocks as needed.
- This video gives an overview of installing paneling in a large area.
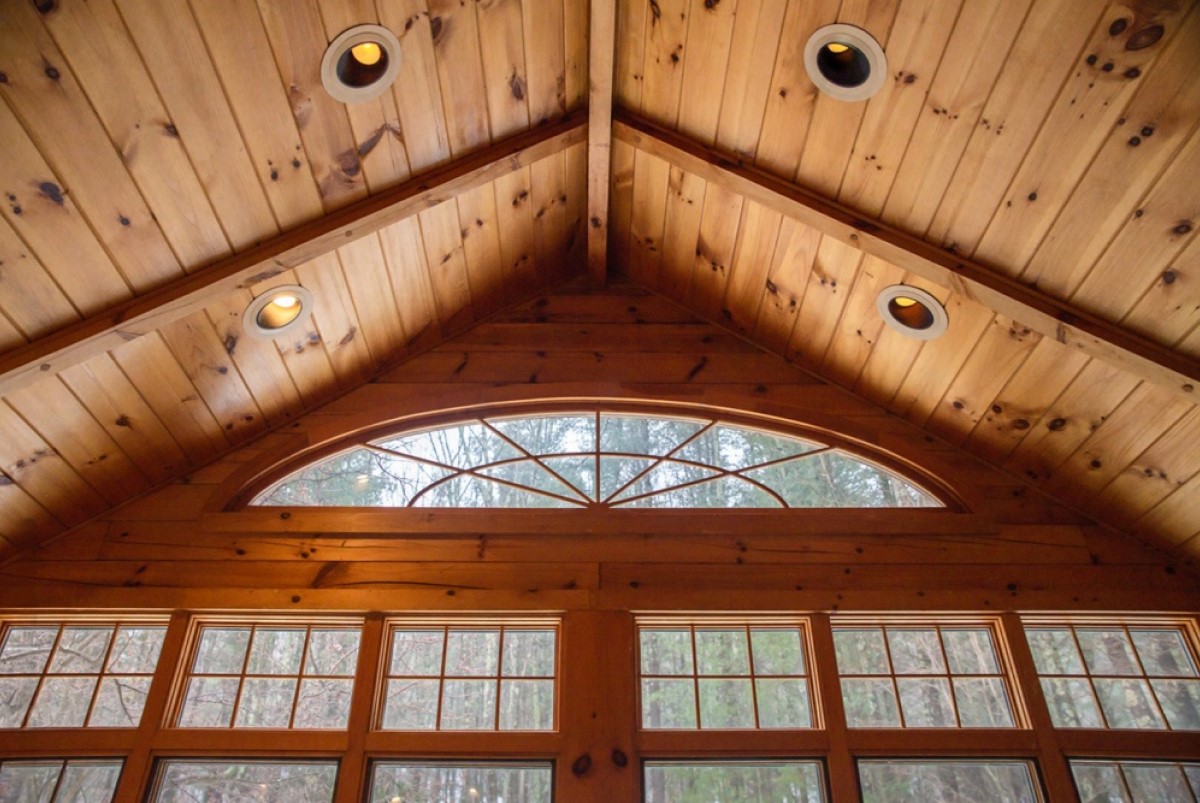
Creating Ceilings With Knotty Pine Paneling
Most people install knotty pine paneling in straight rows running the same direction as the longest wall in the room. You can choose another layout pattern to meet your tastes and home décor. Here are some easy steps to take to create a beautiful ceiling:
- When installing ceiling paneling that runs 90 degrees to the ceiling joints, nail each piece to a joist.
- When installing paneling parallel to the joists, nail or screw furring strips to the ceiling joists spaced about 2 feet apart for nailing.
- The first row must be at a right angle to a wall or the complete project can look crooked and out of place.
- Continue across the room tapping each piece into place with a rubber mallet for secure side and end joints. Stagger the end joints to provide stronger integrity and appearance.
Trim, Moldings, Stain, And Clear Coat
Order the style, size, and quantity of trim and molding for each room you plan to panel. Trim and molding are available for doors, windows, baseboards, ceilings, inside corners, outside corners, and chair railing. Measure, saw, and install each piece carefully for a professional look.
You have the choice of purchasing unfinished paneling and staining it yourself or hiring a painter. Paneling can be stained before or after installation. You may elect to apply a clear coat finish only, or apply clear coat over the stain. A time-saving and labor-saving option is to order pre-finished knotty pine paneling.
We hope this article has provided some useful ideas for installing knotty pine paneling. We offer the highest quality paneling, trim, stains, and service available for your needs. Let us hear from you!
Recent Comments