
Table of Contents
How to Install Knotty Pine and Cedar Tongue and Groove Paneling
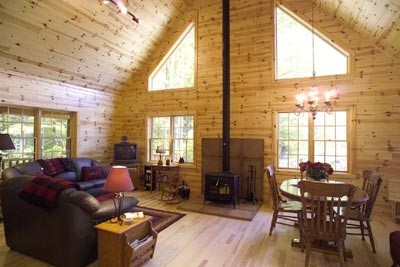
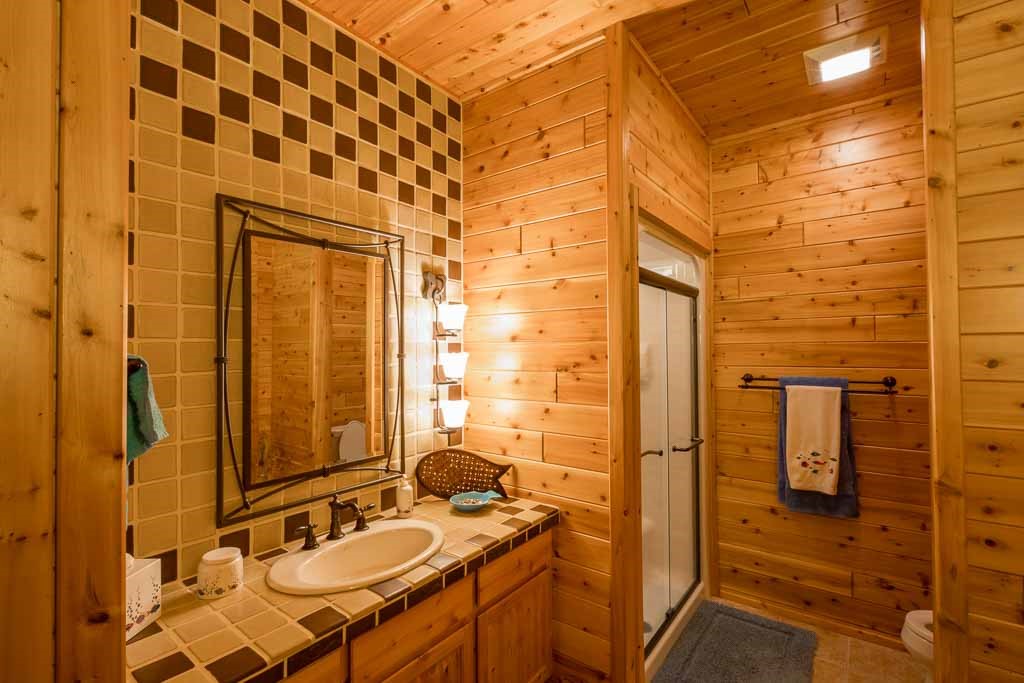
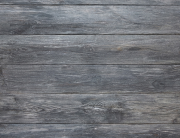
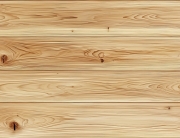
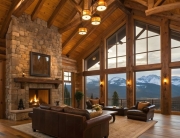
Tongue and groove wall paneling is a perennial favorite in many home and cabin styles. It’s available in several widths and lengths and can be installed in a variety of layout patterns. Whether you choose knotty pine or cedar, the end product is sheer rustic beauty and charm.
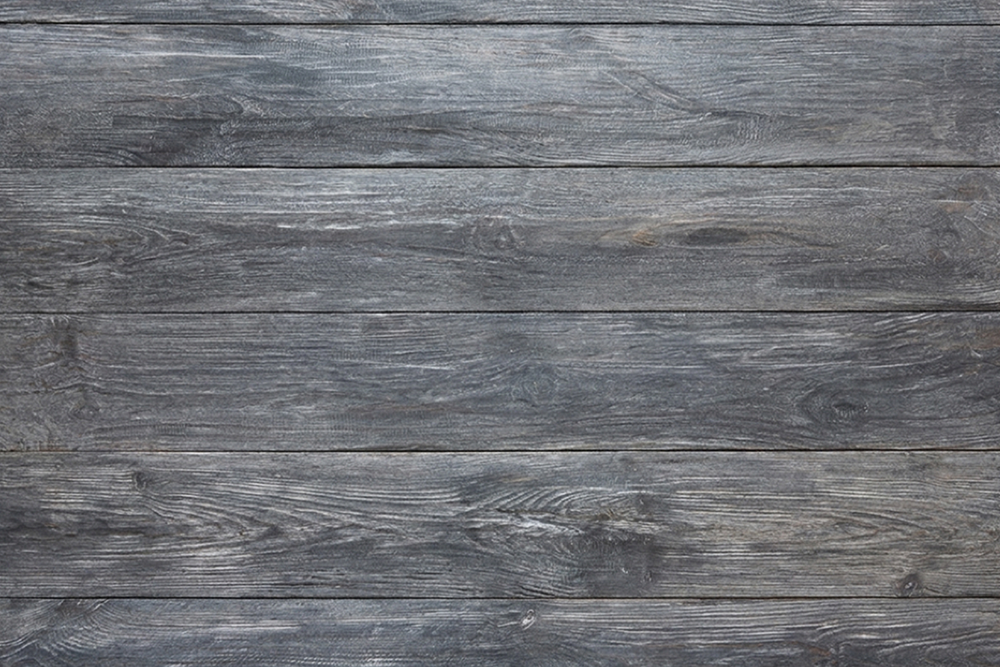
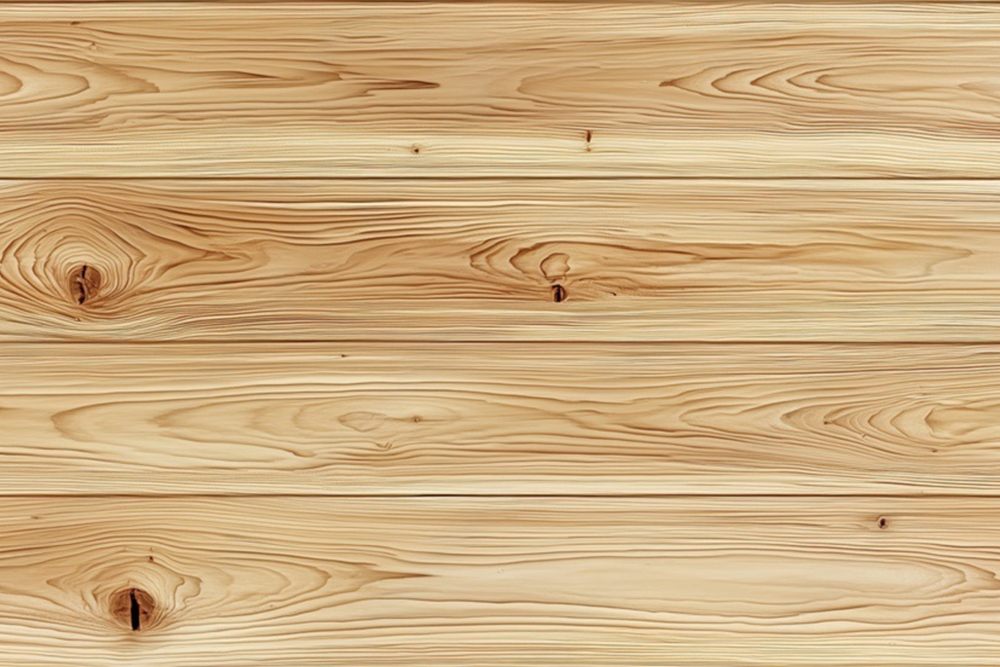
The two favorite ways of finishing the boards are applying a clear coat or staining to your choice of colors and then applying a clear coat. Their attractive knots, grain patterns, and mineral streaks add touches that can’t be achieved with plain, straight-grained woods. If you are interested in using them, it’s important to know how a tongue and groove design differs from shiplap, its benefits, and how to install knotty pine and cedar tongue and groove paneling.
How Tongue and Groove Panels Differs from Ship Lap
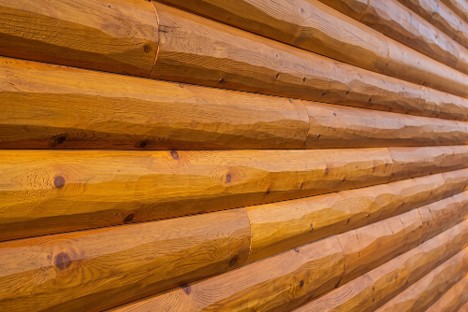
Tongue and groove and shiplap are two different ways of fitting paneling together. Their configurations can produce differences in terms of structural integrity, appearance, and strength. Tongue and groove paneling with the end-matching system has a groove milled into one side and end and a projection (tongue) on the other side and end. The tongue fits inside the groove perfectly whether on the sides or ends of pine or cedar wood.
 |
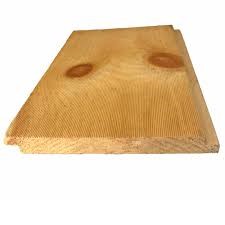 |
| Tongue and Groove Panels | Shiplap Panel |
Shiplap panels lack the tongue and groove/end-matching design and the edges merely lap over the next board. Although it is a good choice, there are no attractive chamfered edges on this style of paneling and most homeowners think it is less desirable than tongue and groove.
Benefits of Tongue and Groove Paneling with End-Matching
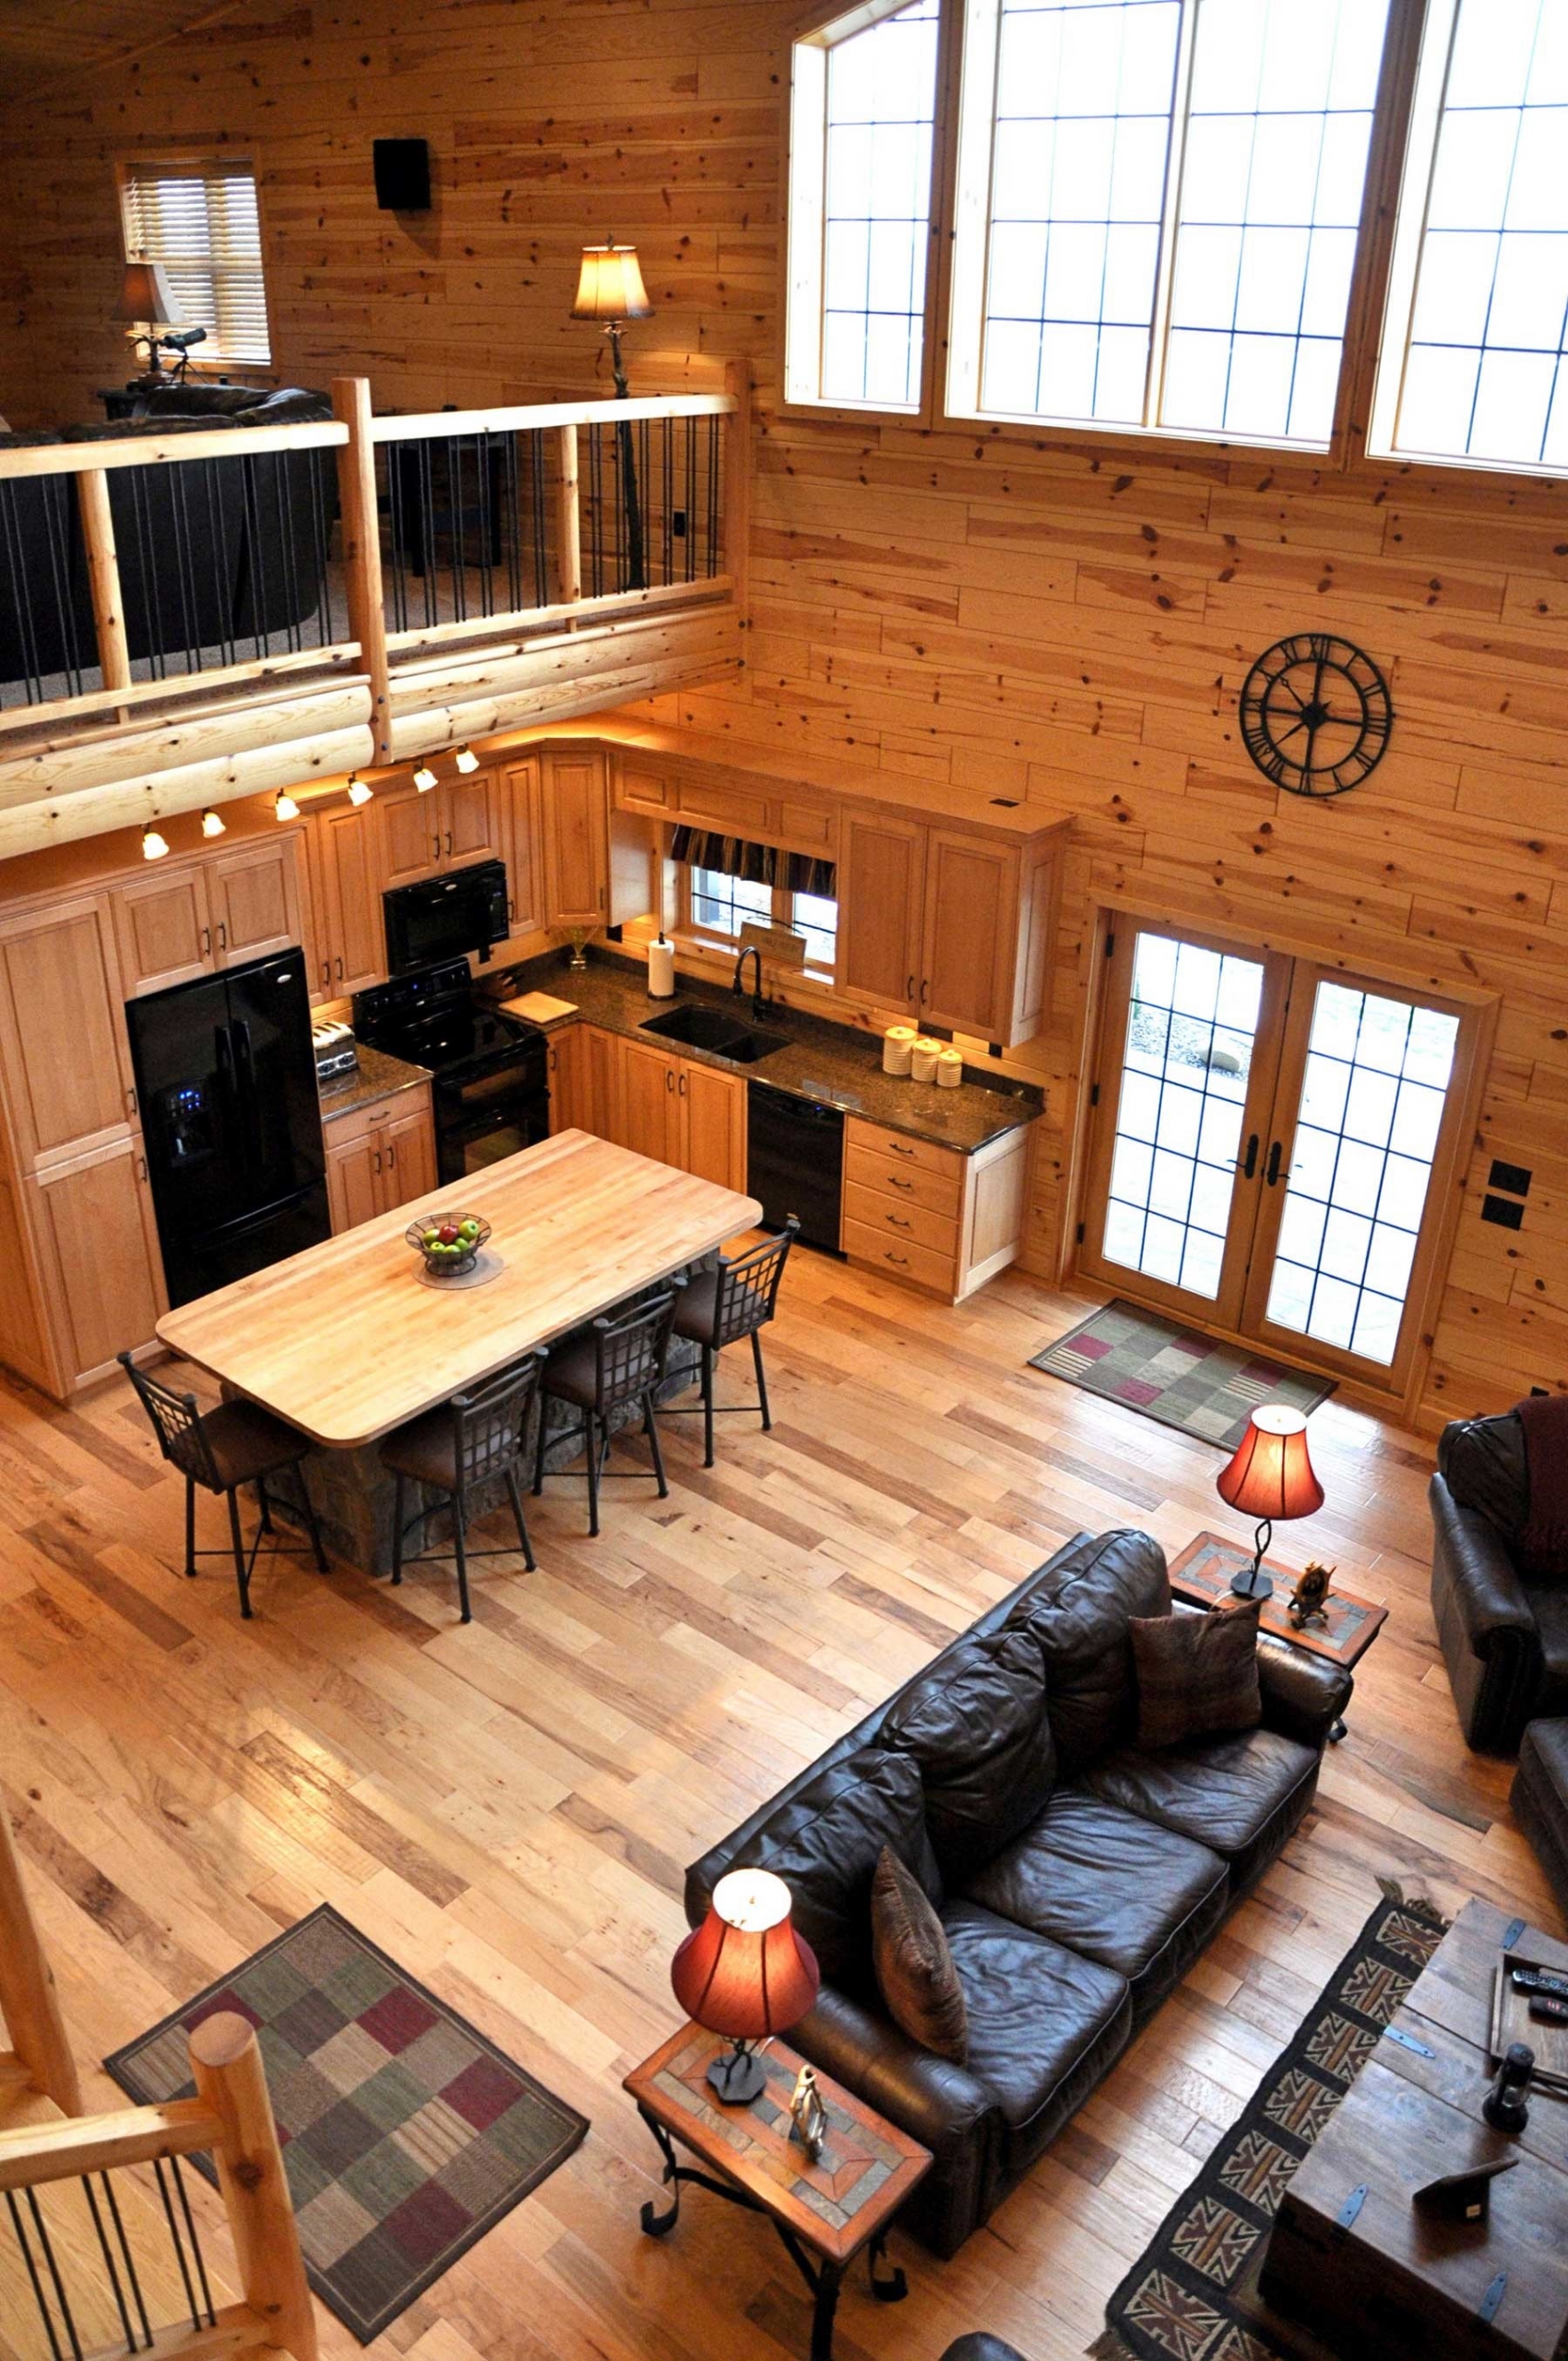
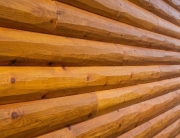
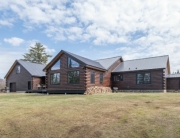
Tongue and groove knotty pine and cedar paneling is a favorite wood profile for walls and ceilings in cabins, larger homes, and businesses. It carries these desirable benefits:
- It is fast and easy to install with a nailgun
- Panels are available in an unfinished and pre-finished condition
- High-quality panels lie flat on the walls compared to improperly dried shiplap
- You can save up to 20% on labor and save up to 20% material waste
- Nails do not show on the surface of the paneling
- It is available online at attractive prices
When you buy the best-quality knotty pine and cedar paneling you don’t need to worry about the knots coming loose or the boards cupping. Each panel will be kiln-dried to the ideal moisture content of stability and staining. A final significant benefit is the panels can be joined anywhere between studs – not just end-butted on studs!
How to Install Paneling on Walls
Homeowners with woodworking skills, carpenters, or contractors can install knotty pine and cedar paneling on walls and ceilings. TIP: You need to first decide if you want to install the panels and then apply a finish or apply the finish before installation. Another option is to order pre-finished paneling to save a lot of time and effort. Follow these steps to do a professional job on new walls that have no prior wall coverings. Tongue and groove panels can also be installed on ceilings for an added rustic effect.
Step One – Measure the height and length of each wall or ceiling to determine the square footage needed and order that much plus a little more.
Step Two – Move everything away from the walls and doors to allow working room. Place the right amount of paneling boards on the floor and give them two or three days to acclimate.
Step Three – Remove any trim around the doors, windows, floors, and take off any switch or electrical outlet plates. Set them aside for possible later use.
Step Four – If you have not completed the insulations and vapor barrier steps yet, do them now to provide better retention of warm and cool air and to prevent moisture damage.
Step Five – Complete one room at a time instead of going up part of a wall and move to another room and install panels part-way up. Start with the left side of the room at the bottom and work your way up installing each board with a nail gun. Leave a ¼” to ½” space between the corners and the first board. There’s no need to end-butt the paneling on studs because they lock together anywhere between studs.
Step Six – If you have a leftover piece on the first run, use it to begin the second row. Repeat the process up the entire wall and you will see there is virtually “zero waste.” Allow the right amount of openings around light switches and outlets.
Step Seven – Install the trims around the windows and doors and nail in the baseboards. We recommend you first watch this video to make the work more efficient.
There you have it – a simple way to install your beautiful paneling. If you are remodeling, you must remove the old drywall or other wall material first, remove any nails or screws, replace any damaged studs, and clean up. You will find these tips on choosing the right gauge and length of nails very helpful.
The WoodWorkers Shoppe has all the paneling, trim, and finishing materials you will need. Let us help you with a materials estimate – it’s free!
Recent Comments