

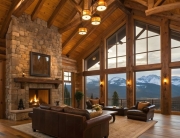
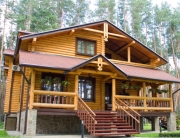
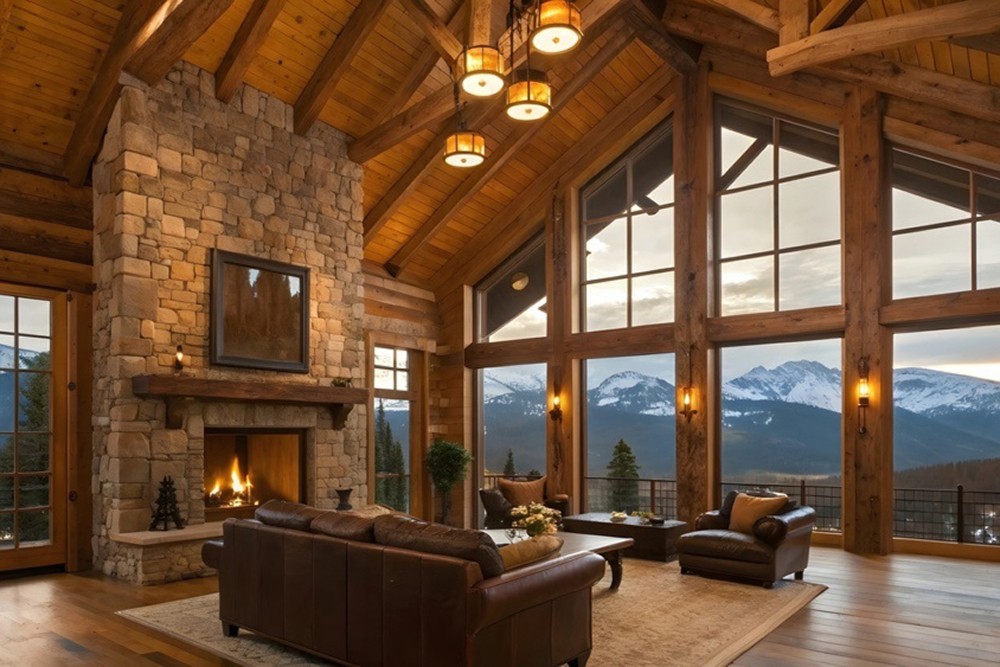
 There are many different options for interior log siding, as you undoubtedly realize by now, but if you have opted for log cabin siding, then you probably have to make a decision on whether or not you want to go for prefinished siding, or something that you will need to finish yourself when you are preparing to start the installation. Something to note about the interior log siding that you might be looking into is that it tends to feature interlocking sections. Using tongue and groove paneling means that you can easily place it along your wall without worrying about cutting, sawing, or even wasting any of the wood.
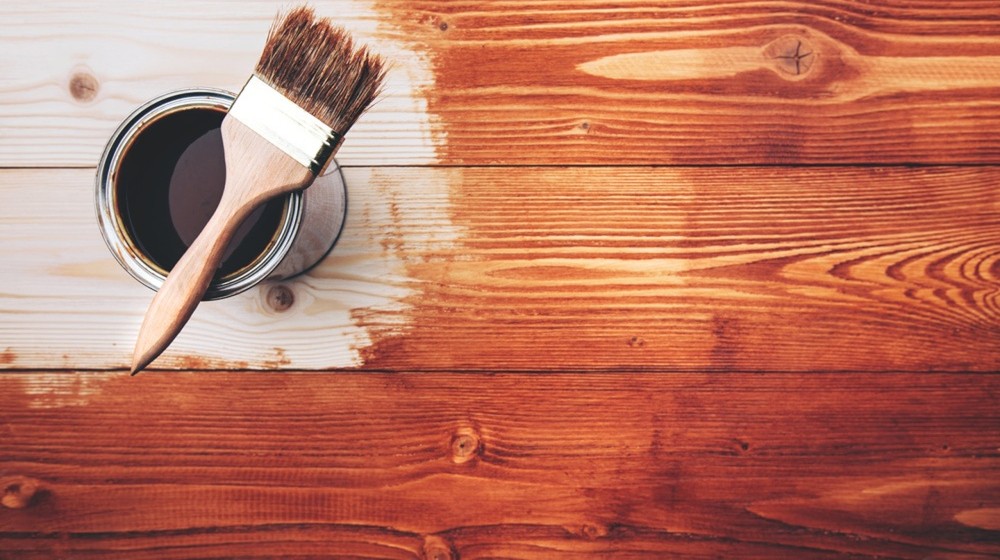
In essence, you have an interior wood siding solution that doesn’t take anywhere near as much work as a typical installation with traditional materials would require. That being said, you need to find a way to make sure you’ve properly applied siding stain to your walls before you install them. Let’s take a quick look at some of the more popular and effective ways to start staining log siding.
Getting Ready to Start Staining Log Siding
Before you get started staining log siding, you need to understand that staining is very different from painting. While they have the same basic principal, stain is very watery, and the color/pigment tends to drop to the bottom as it is heavier. That being the case, you will need to make sure you shake or stir the contents thoroughly. If you are unsure of your shaking skills, you can always ask for the paint store you purchase from to use their machine to get the job done.
Staining Log Siding for Success
You will start staining your wood siding using a wide-edge brush, and starting from the top, you will work downward. Do not make the mistake working on as many logs as you can at the same time – it might go faster if you do so, but you will end up with overlap lines, which will require you to sand the coat off and do the job all over again.
Don’t Go too Fast
 One of the biggest mistakes you can make when staining wood siding is going too fast. It would be within your best interest to use long, even strokes, and go slowly. Yes, it will take a bit longer, but you will find that faster strokes will cause the stain to splatter. Even if some of the splatter isn’t noticeable by the casual observer, you will always know, and it will make your interior pine paneling a recipe for stress.
Going at it One More Time
Whether you’re using log cabin siding or some other manner of siding, you will need to make sure you apply a second coat using the procedures we mentioned above. The second coat will protect the wood better, and it will allow the log cabin stain to last longer.
Staining wood siding is easy to do and can make your log home look authentic. Your interior log siding is a great thing – make sure you keep it protected and maintain that rustic look you love for many years to come. If you need more tips on how to stain wood siding properly, be sure to reach out to the experts at the Woodworkers Shoppe!

Recent Comments