
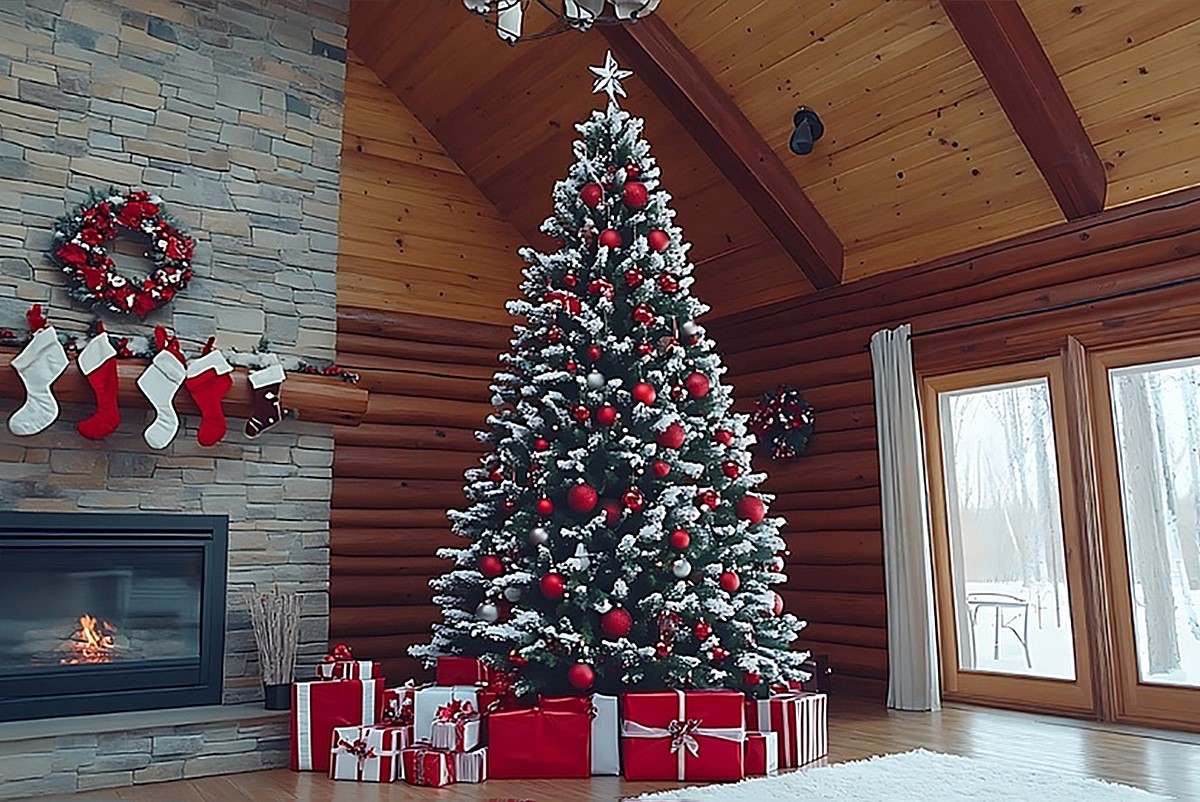
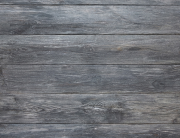
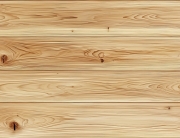
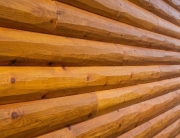
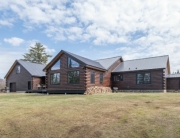
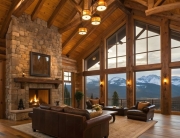
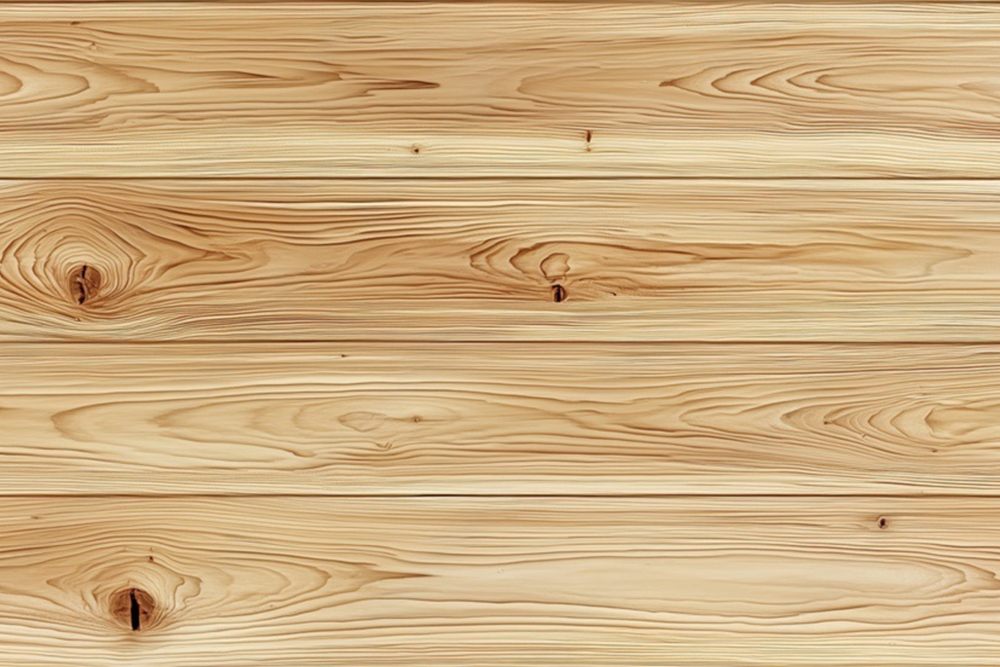
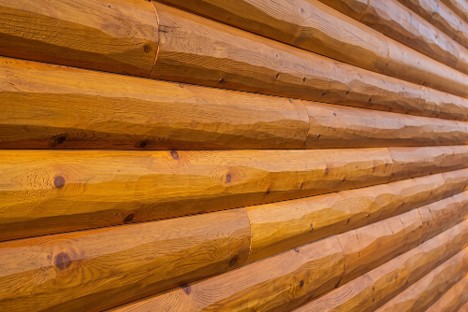
If you have never seen knotty pine ceilings, they can be quite beautiful. They coordinate well with the décor of many home and business styles. This ceiling paneling is the same wood product used on knotty pine walls and floors.
Why Knotty Pine Ceilings Are Popular
Wood ceilings have been used in homes, businesses, cabins, and even castles for hundreds of years in America, Europe, and Asia. Their longevity speaks to their durability, popularity, and practical use. Homeowners who have installed these ceilings tell us why they are a favorite:
- Knotty pine’s characteristics are among the most gorgeous woods.
- Pine paneling adds a rustic and gorgeous charm to any room.
- This type of paneling is sustainable and eco-friendly because there is little waste.
- Pine trees are renewable resources because thousands are planted each year.
- This wood is durable, stable, and affordable for anyone to use.
- Its tongue and groove end-matching design is fast and easy to install.
- Knotty pine paneling can be placed on ceiling joists and over drywall ceilings.
- High-quality pine paneling is milled and readily available year-round.
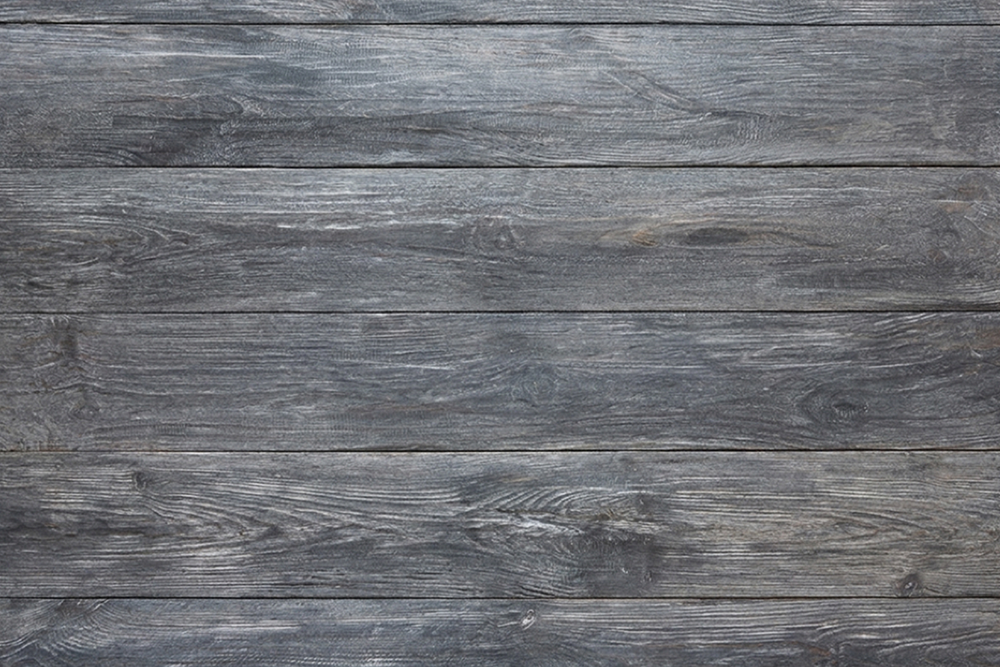
If you like DIY projects and have the woodworking skills and knowledge, you won’t need to hire a carpenter or contractor. Another plus with pine paneling is that you can stain it any color you want including a whitewash finish for a brighter room.
Planning For Knotty Pine Ceilings
 While making plans for your ceilings, give some thought to the width and thickness of the boards. The favorite sizes are 4”, 5”, 6”, and 8” with a ¾” sturdy thickness that adds depth to the ceilings. You can use the same widths on a ceiling or vary the widths and lengths for a special touch.
The best type of paneling to buy has the tongue and groove end-matching design that provides tight-fitting joints. This design installs faster and easier than common planks that lack these features. You can save up to 20% in installation time and 20% material waste because there is virtually little or no waste product.
Another decision is how you want to install the pine paneling. Do you want a straight pattern running with the length of the longest wall, at a 45-degree angle, or placed in a unique design? It is secured with a finishing nail gun and the correct size screws recommended by a supplier.
“If you have never seen knotty pine ceilings, they can be quite beautiful.”
Install Unfinished Or Pre-Finished Knotty Pine Paneling
 Your next step in the ceiling project is selecting unfinished or pre-finished paneling. The raw unfinished paneling is sanded smooth and ready for finishing. Your choices are:
- You can apply a clear coat only yourself on unfinished paneling.
- You can apply the stain color of your choice.
- Do you want the same color on all boards or two or more colors in a pattern?
- You apply stain followed by one or more coats of a clear finish.
- Hire a painter or let our finishing department do the work.
The advantages of letting our finishing department do the work will save much time and effort. When the paneling and trims arrive, just nail them up and you’re done. The finish is expertly applied in a controlled temperature and humidity atmosphere. You won’t need to wait on the weather, schedule a painter, smell the odor, or clean up afterward. There will be no issues with the smooth finish that looks like fine furniture.
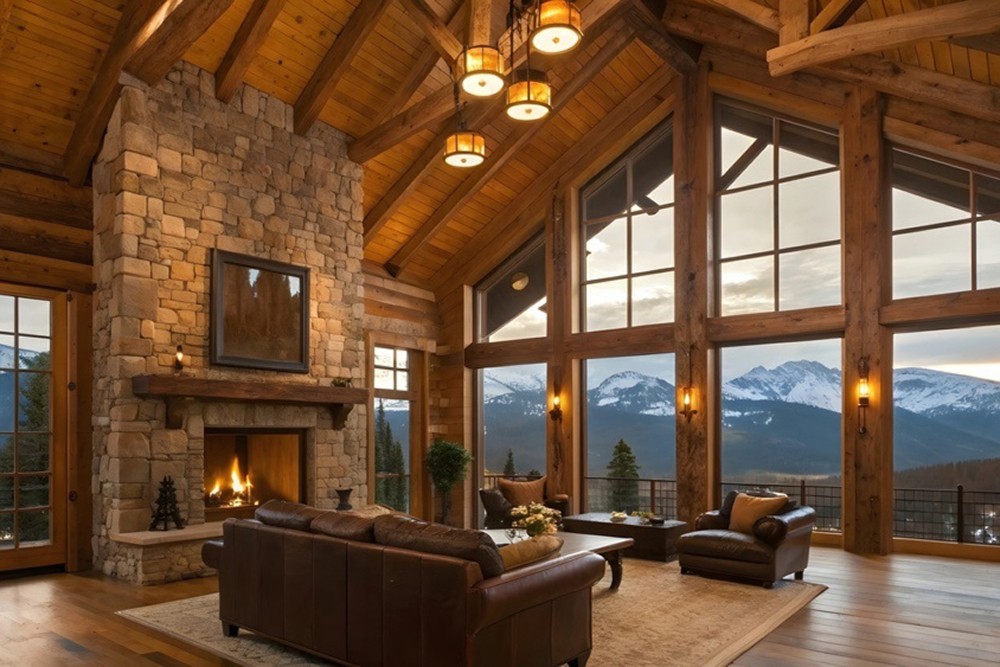
Trims And Moldings: The Finishing Touches
An exciting part of installing a knotty pine ceiling is matching the wood with your favorite trims and moldings. Our customers’ favorite choices include crown molding for a luxurious touch or essential ceiling trim for a more modest application.
Hand-inspected and defect-free pine trims and moldings that coordinate with the ceilings and walls add the right distinction. All are easy to install with a finishing nail gun and nails. If the nail heads show, you can cover them with a good wood filler product. Cut the joints carefully for a tight fit and you will be proud of the finished product.
Some Woodworking Hints To Consider
Prepare the ceiling joists or drywall by cleaning them to remove dust, debris, nails, screws, or any lumps of paint or finish. The paneling can be nailed to the ceiling joists or drywall if it runs at a 90-degree angle. If you choose to run them the same direction as the ceiling joists in a new ceiling, it will be necessary to first install furring strips. If you remove drywall from an existing ceiling, do a thorough clean-up job.
Make sure the ceiling panels line up straight all the way across the room. If the first row is crooked, the rest of the ceiling will be off-center and obviously look bad. Allow for cutting out places for electrical outlets, switches, light fixtures, smoke detectors, and other devices. Leave about 3/16” from the wall for the first row to allow for expansion. Purchase high-quality knotty pine paneling and trims for your ceilings, and you will never be sorry.
Recent Comments