

How to Convert Your Plain Jane Home into a Log Cabin with Real Log Siding
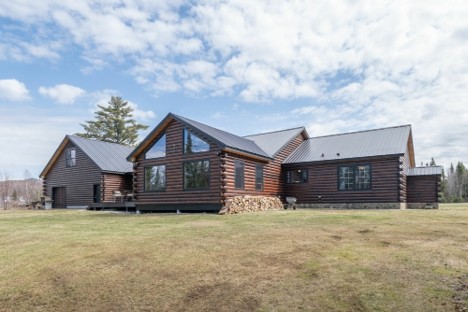
Log Cabin Cottage Home – Have you dreamed of owning a log cabin but couldn’t afford it? There’s another option that is within most people’s reach. By converting your Plain Jane home into a log cabin with our log house siding, you will be able to achieve this goal. Follow the steps in this guide to begin your log siding installation project.
Step 1. Take a look at the exterior of your home
Take a look at the exterior of your home and image what it would look like as a log home. Think about the type and amount of work to either remove the exterior material or simply cover it up. This way you can decide if you want to install the log cabin siding yourself or hire a contractor.


Think about your climate. Is it a moderate one or is it very cold in the winter or very hot the summer. Is it humid or arid year round? If the climate and/or sun has damaged the existing siding enough to prevent a flat and easy new log cabin siding installation then it will need to come off. These types of siding NEED to come off and cannot be covered up with log cabin siding:
- Any siding that has bulged out or warped
- Poorly installed siding
- Fiber cement
- Insulated vinyl that is wavy
- Any siding that is in poor condition
The reasoning is that undesirable siding can cause more severe issues down the road. It will be very difficult to attach new siding over problem siding. A third problem is that you may void the manufacturer’s warranty on the new siding. The drawback is that the more preparation needed before installing the new siding, will likely cost you a bit more.
Should you remove the old siding?
On the other hand, it is up to you whether to remove the siding or not. The only real benefit of leaving the existing siding is that the project’s cost will be less, but it could cost you more in the long run. The average homeowner may need help in making this decision on their own.
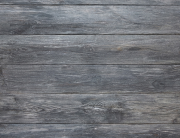
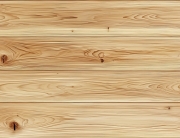
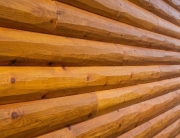
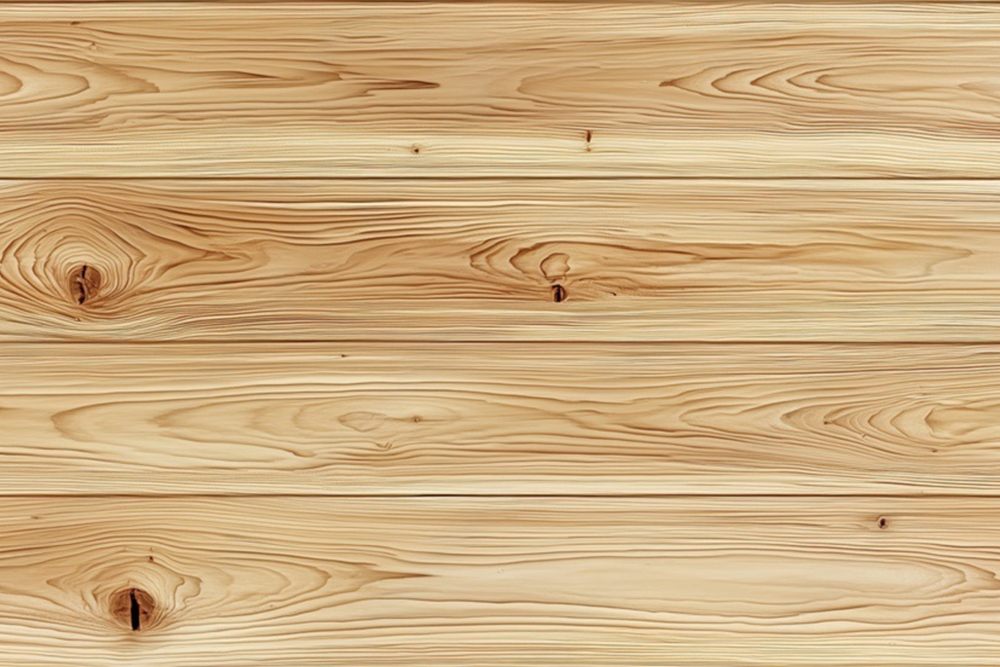
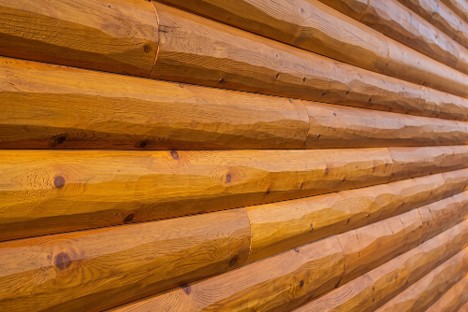
Log cabin siding for the exterior and interior walls takes the place of full logs. This type of siding is created by literally removing the center of the log and retaining the two outside pieces to explain it move visually. Each piece of our log cabin siding will have a flat side and a rounded side. The flat side is attached to the walls (studs). When installed with corner pieces and trim, you can’t tell our log house siding from a full log home.
Log cabin siding comes with either a smooth finish or hand-hewn surface. You can even order it pre-finished to save a lot of work and time. You have the options of removing the exterior siding and interior wallboard or installing the log siding right over them. Check with a contractor to determine the feasibility of doing this, zoning codes, and the insulation requirements.
Step 2 – If Leaving the Existing Siding On
Before you begin you must check each piece of siding to determine if it is solidly installed and secure any loose pieces so they will not affect the new ones. You must be physically able to install log siding over the existing siding so that is will remain solidly in place and flat. Remove the trim around the doors, windows, and corners to make room for log trim.
Next, install the trim around the doors and windows with the proper type and length of nails. Follow up with corner systems of log trim. Once this is in place you can begin installing the log cabin siding from the ground up. Use tongue-and-groove siding with the end-matching system for secure joints that fit perfectly. Use a nail gun or screw gun to secure them.
Next comes the eaves on all sides of the home. To finish the job secure all eave and soffit boards. It may be necessary to rip (saw) one section of siding to fit under the eaves to cover the smaller openings. Create a drip edge so the water will run off.
Step 2. If Removing the Existing Siding
If it is necessary to remove the existing exterior siding for any of the reasons mentioned so far you must remember that safety is the first consideration. You will encounter wood, aluminum or vinyl siding on most homes. Have a truck or trailer handy to haul away the old siding. Use a long handled magnetized tool to pick up old nails and staples.
Wood Siding Removal
Start at the top of one side of the house (shady side if possible). Starting at the top is necessary because the old siding was installed beginning at the bottom and it overlaps. Use sturdy extension ladders or a scaffold for a solid place to stand. You will need a pry bar, hammer, and reciprocating saw with metal blades.

Push the pry bar under the top piece of siding and pry it out carefully in several places. Slip the saw under the board and cut all nails. This makes it easier to remove the boards. Keep doing this until you get one run/row of siding removed. You will encounter window casing boards and door trim boards. Pry them loose and cut the nails with the saw. Pull the nails with a hammer or pliers and toss the boards in the truck or trailer. It may be safer to pass the siding one board at a time to another worker.
When the siding is removed down to the ladder or scaffold, lower the ladder or scaffold and keep going. Be careful with the material under the siding and try not to disrupt it unless you also want it removed. When finished, go to the next wall and repeat the process.
Pick up the nails and be careful around utility meters. Don’t cut any wires to prevent getting shocked.
Aluminum or Vinyl Siding Removal
Removing aluminum and vinyl siding is not a complicated process. In most cases the siding was installed on old wood siding. It was easier to leave the old siding on and provide a surface to attach the aluminum or vinyl. You don’t know what lies beneath the siding until you take it off! Some repair work may be necessary if the old siding is damaged in places.

Let’s proceed on the idea you will recycle the old siding to be on the green side of things. Start gently by peeling back a corner piece to see what is underneath – it may not be solid wood. (Be sure to wear gloves so you won’t get cut). Both types of siding were nailed and hooked together. Use something small to pry a piece loose and unzip it horizontally across the length of the siding piece. Now you can see the nails and remove them carefully.
Next remove the nailing channels, facia, and soffits. Take off the trim around doors, windows, and other parts of the walls. There may be insulation or some type of house wrap to remove. Discard after removing. Sand down the old wood siding where needed and patch any nail holes that need it.
Step 3. How to Recycle Old Siding
Put the siding being removed in a stack out of the way. Protect it as much as possible because it will be reused as siding or converted into something else at the recycle center or a manufacturing facility. If stacking horizontally, place some 2x4s every couple of feet under the bottom piece so the weight above won’t bend it. Remember, it will be loaded onto a truck or trailer so place it so you won’t need to move it twice. It’s a good idea to cover the pile with a tarp.
Decide if you will transport the old siding to a recycle center or have them come to your house. If there are several recycling businesses in the general area call all of them to determine their requirements for sizes, weights, materials accepted, and prices they will pay you. It’s rewarding to know your old siding will begin a new life in some form.


Recent Comments